Headstand. It’s the first pose where I began to fully understand how staying in an asana can be a form of meditation. When I first became serious about finding steadiness and control in this pose, it dawned on me that for the 1 minute, 2 minutes, 3 minutes that I hung out here cleared my mind. Even as I found more ease and was able to hold the pose for longer amounts of time, that clarity didn’t dissipate. I needed the stillness in my mind to keep the stillness in my body. Much like Luke Skywalker, when the outside world came back in, wobbly I became, and down came I.
Why practice headstand? Besides its meditative quality, I find headstand has the ability to invigorate me. I practice it at the beginning of my practice, and the clarity plus the energy boost take me through the rest of my asanas. The pressure on my upper vertebrae in headstand is followed by a stretch of the muscles surrounding those vertebrae in shoulderstand, which, when coupled together does wonders for the tension my body wants to hold in my neck. Looking at it from the outside, inverting the body reverses the flow of fluids, letting lymph drain out of the lower limbs and back toward the heart, as well as assisting the cardiovascular system in bringing blood back to the heart and toward the brain, so the heart doesn’t have to work as hard. Of course, some of these things can happen with a simpler inversion, such as legs up the wall, but we’re talking about headstand today.
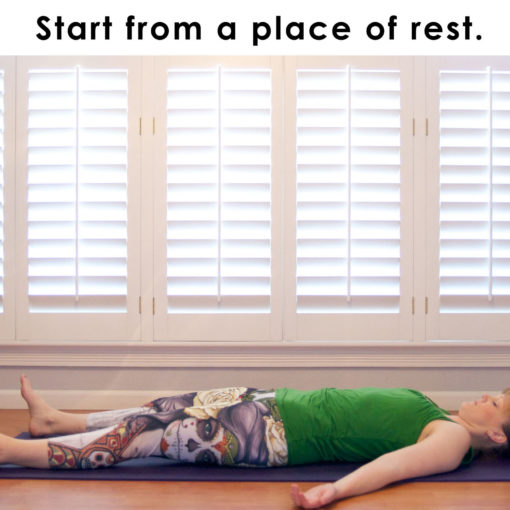
In the video, as well as below, I’ve detailed the way I learned to work into headstand that lead me to a very stable, comfortable posture. This didn’t all happen in one day, or even one week, but I worked at these steps for quite a few years to get to where my asana is today. The most important thing I can say is to go slow, notice how your body is responding, and be honest with yourself. Don’t push yourself or tell yourself that you’re not all that wobbly. If you feel unsteady, come down, rest, and only work your way back if you have the energy. When you’ve finished working at the pose, take a nice long rest, first in child’s pose, then in corpse pose, before moving on to another asana.
| The key to this series is to always start from step 1. If you make it to step 4 and need to come down because you feel unstable, do not start at step 3. Take child’s pose for a moment, then reset the body from step 1. Do not kick up into the pose, and, when you do feel unstable, bend the knees toward the torso, and come back down the way you came up. You do not want to fall in the other direction or “roll” out of the pose as is sometimes suggested. |
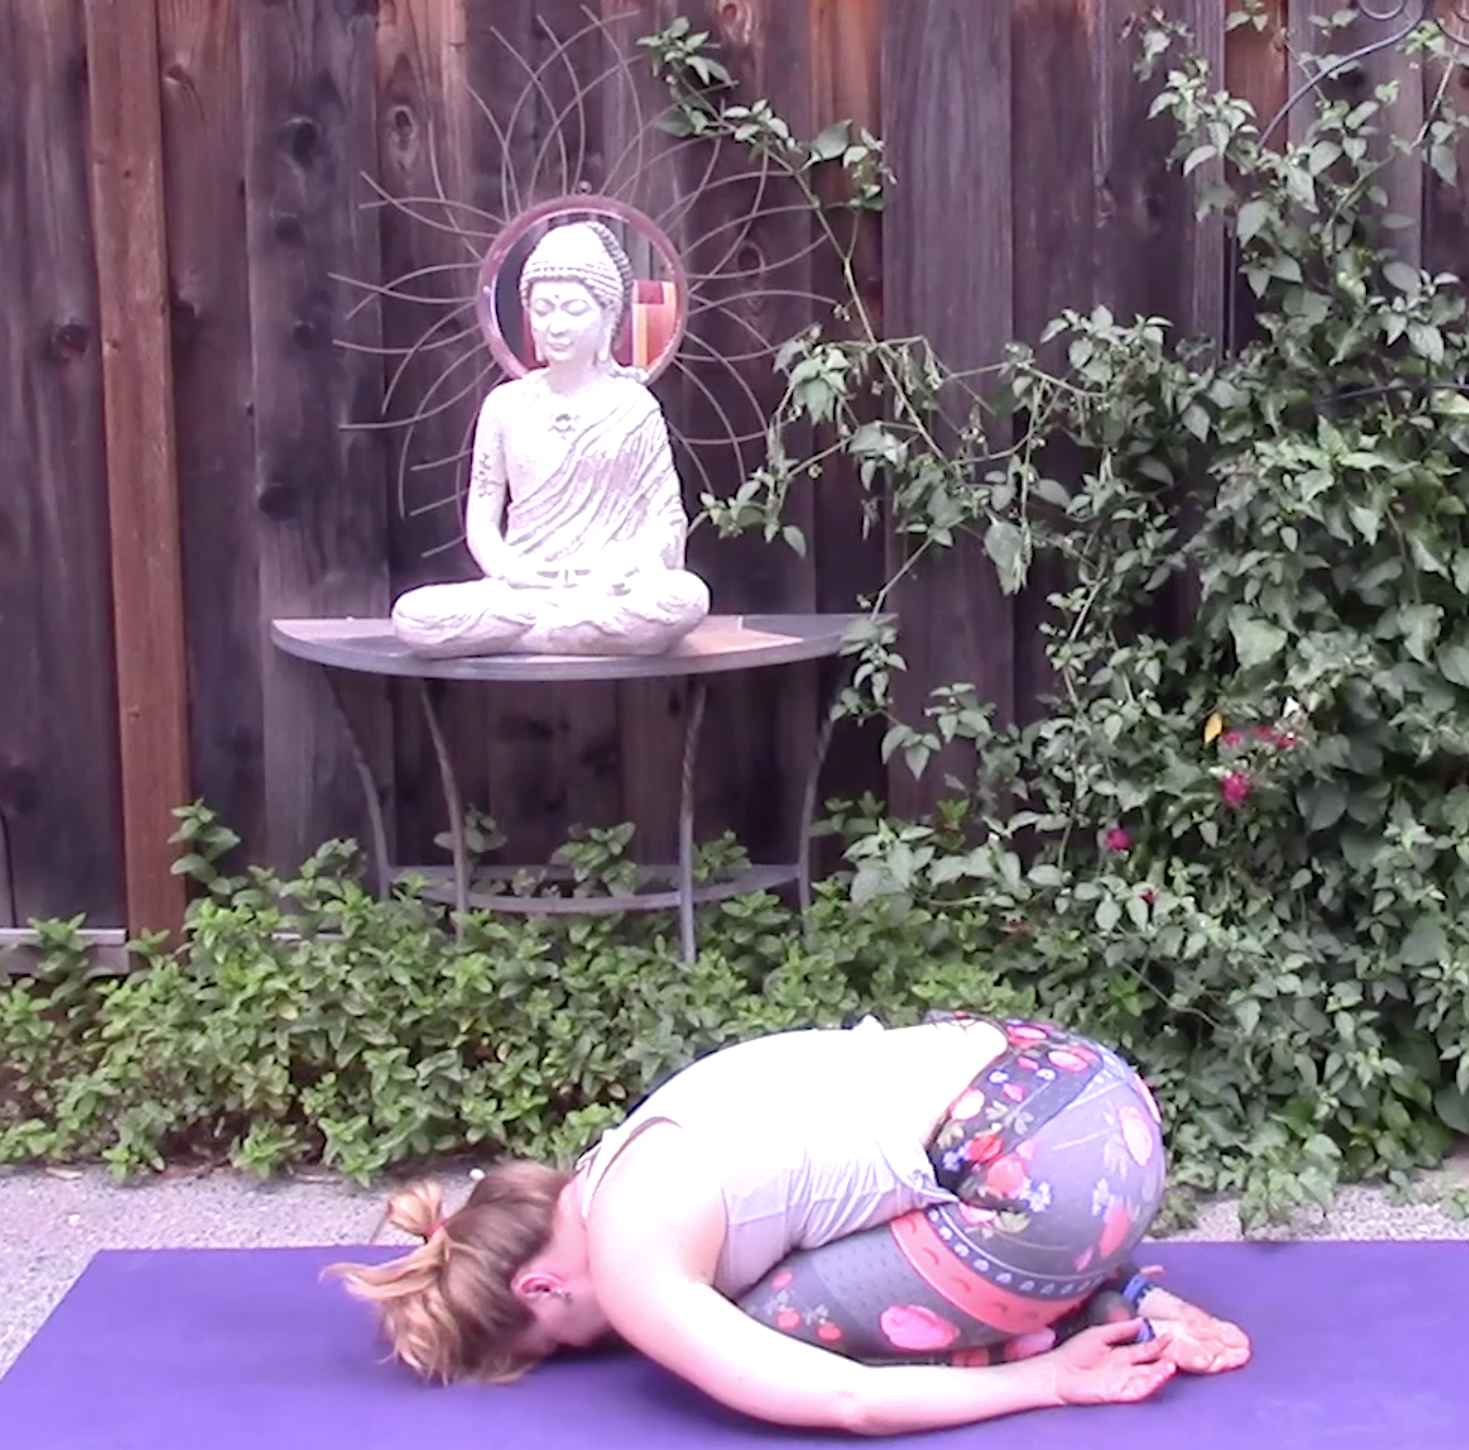 |
Child’s Pose Anytime you come down from any of the following steps, rest in child’s pose for at least a few breaths. Even if you are going to attempt headstand again, make sure you take rest to let your body physically and mentally reset. To come into child’s pose, come to a kneeling position with the knees together. Shift the hips toward the heels and let the forehead rest on the ground in front of the knees. Let the arms rest by the side of the torso, letting the shoulders relax and fall apart. Take deep breaths, feeling the back body expand with each inhale, until the body and mind feel calm and reset, breath and heart rate being back to normal. |
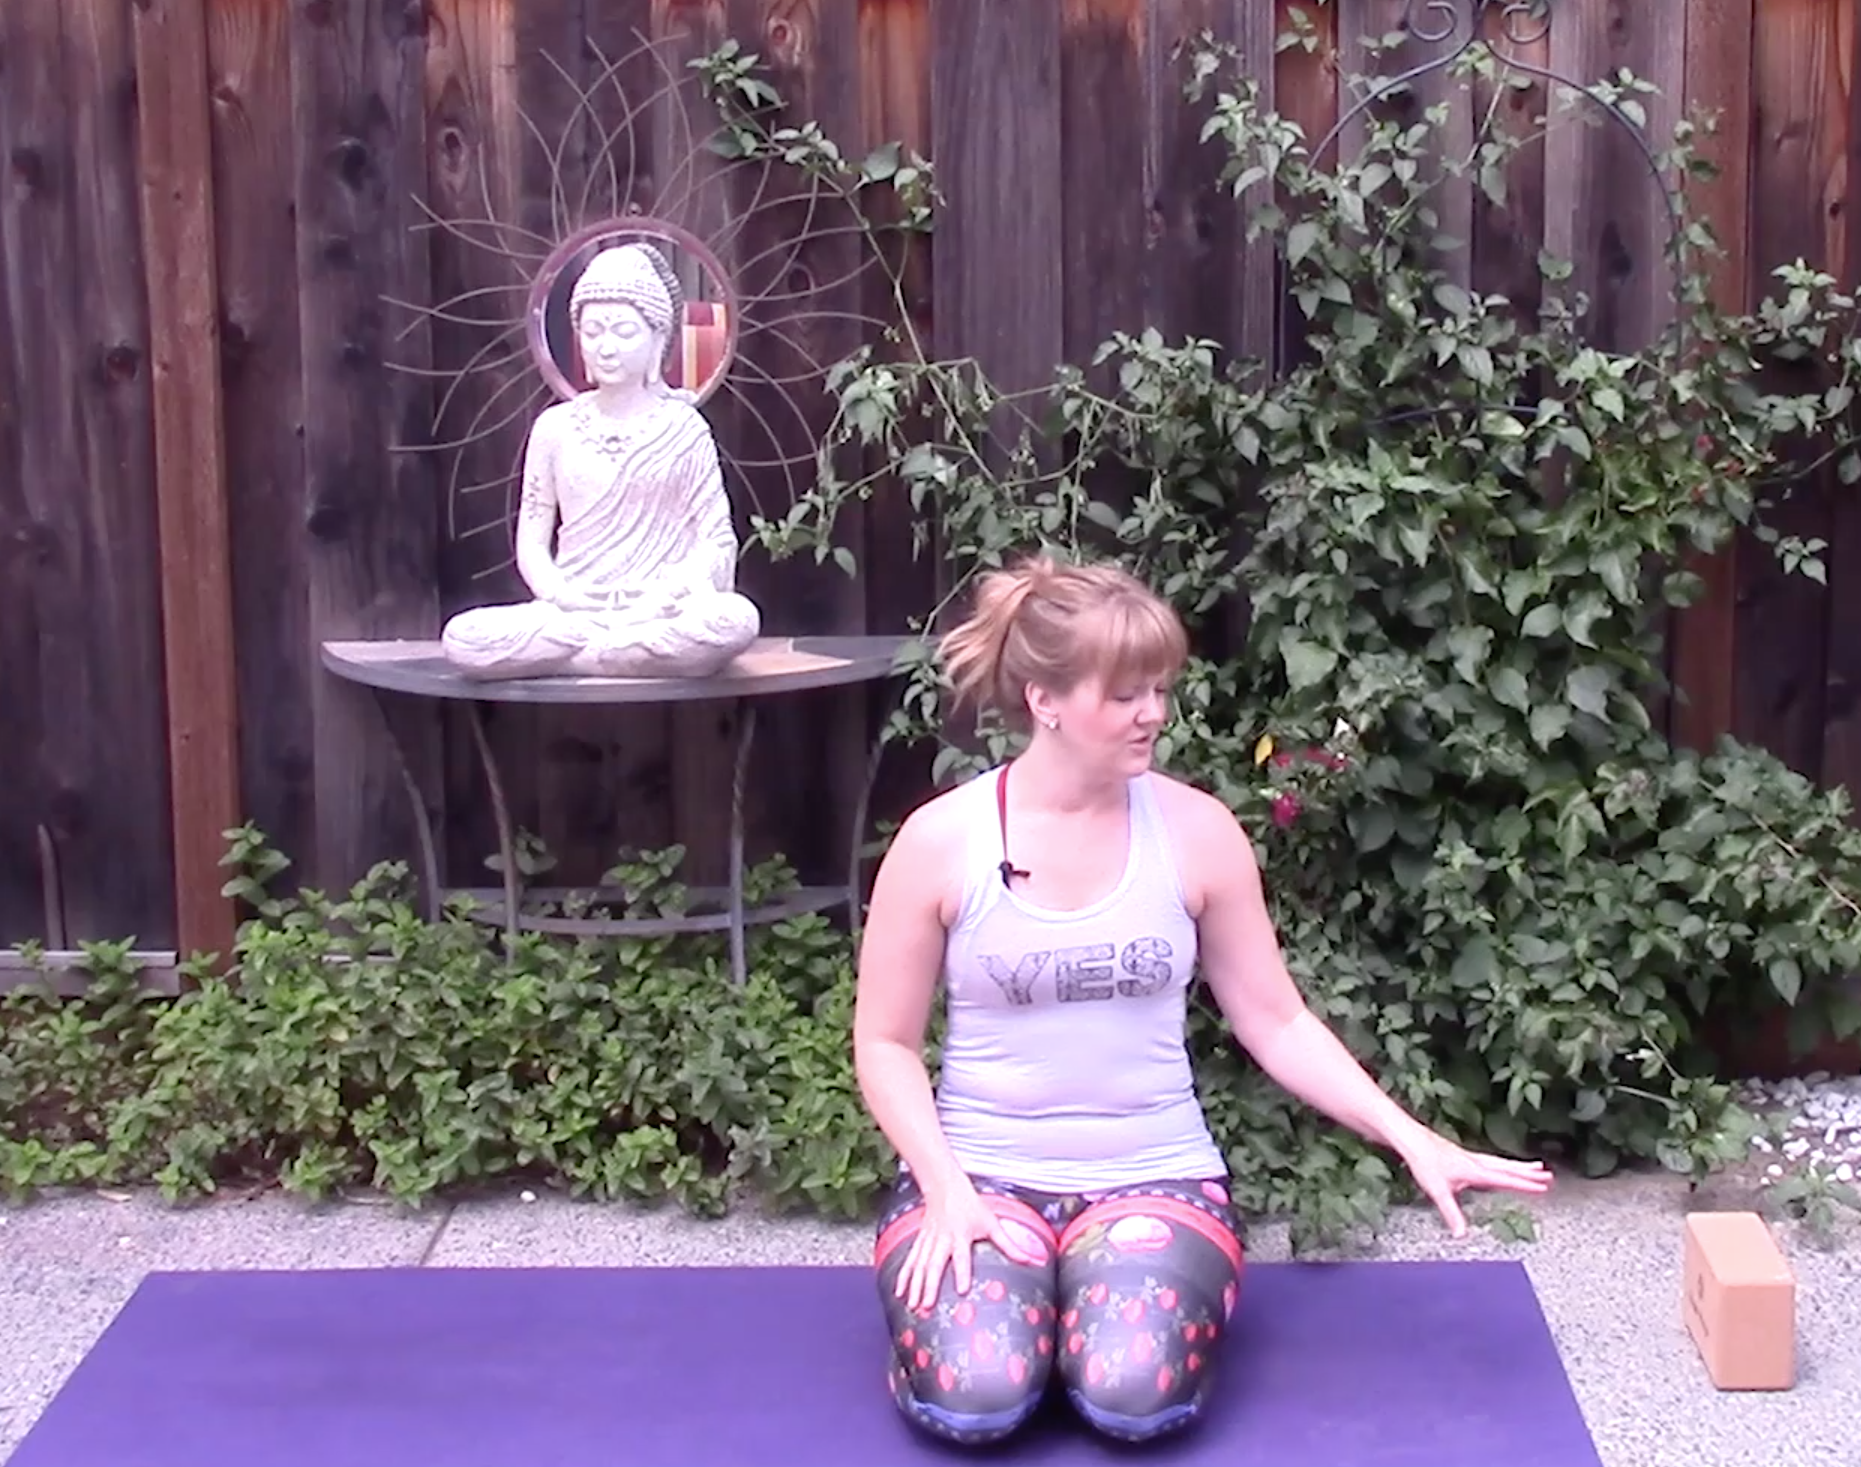  |
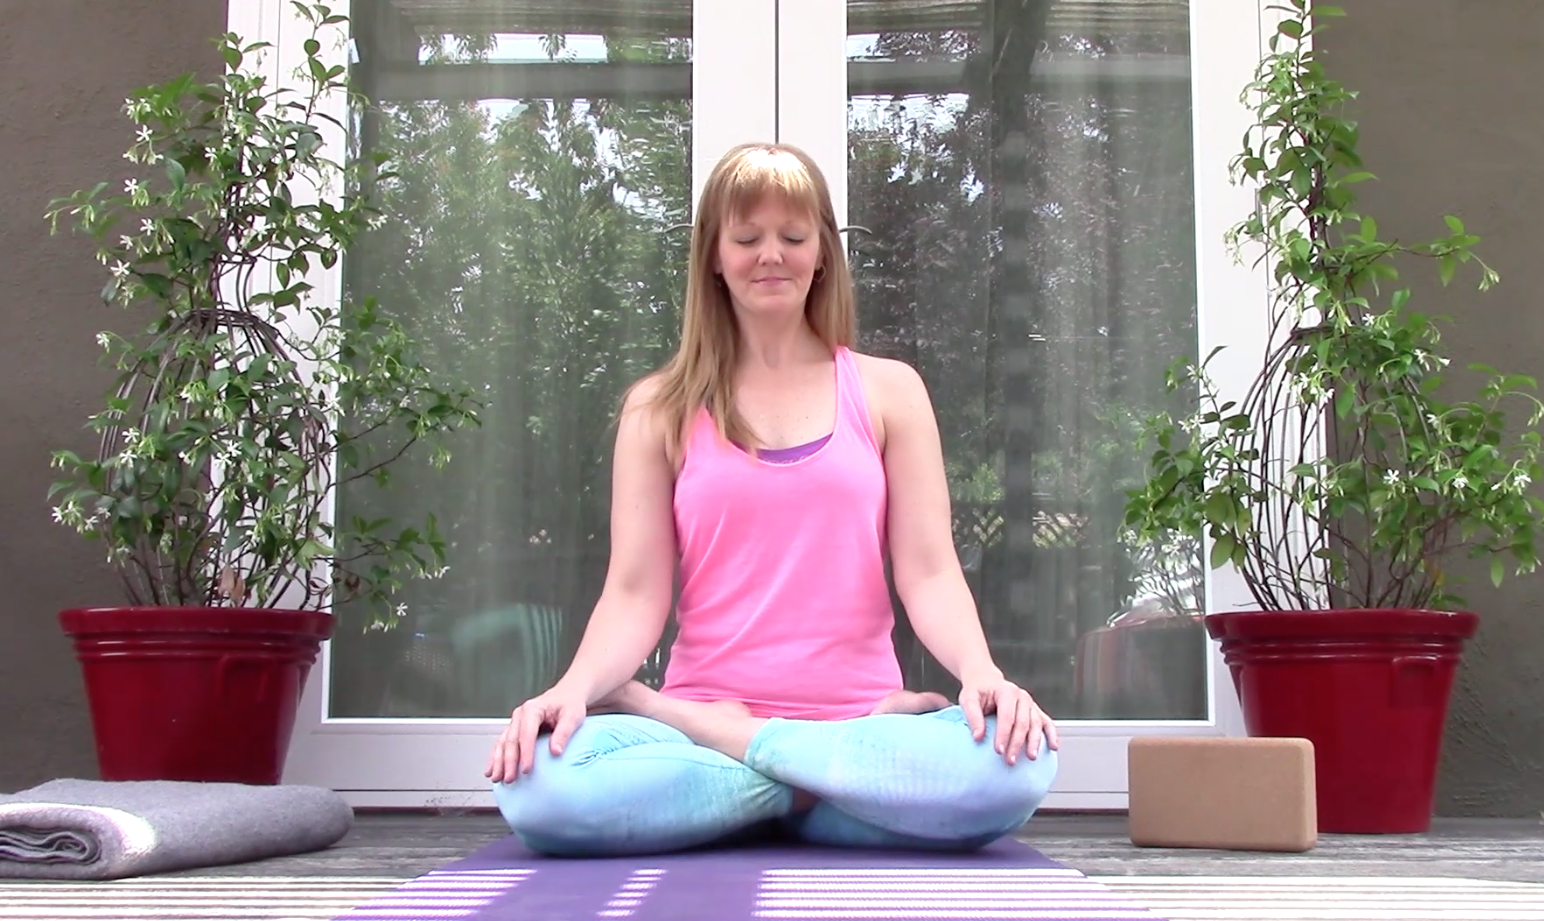
Step 1: Props + Setup The one prop I suggest for headstand is a block or something fixed to set your gaze on. My preferred object is a decorative pillow I have in the room where I practice. Sit your prop at the end of the mat, as I show in this picture. This will give you a place to focus as you begin to balance. To begin setup for headstand, come to your hands and knees. Drop the forearms to the ground under the shoulders, bringing them parallel to the top edge of the mat, each hand to opposite elbow. From here, extend the forearms into a triangle shape, interlacing the fingers. Let the pinky fingers overlap instead of interlace, so each pinky finger can make contact with the mat. The palms of the hands should be apart, so the back of your skull can be cupped by them. From here, pick the forearms up ever so slightly and reset them to ensure that the arm bones are making a solid connection to the floor. Place the crown of the head on the mat in between the hands. Each person needs to find the spot that suits them for balancing. My preferred spot is just in front of the top of my crown. Some people suggest putting the weight on the forehead, which I personally don’t understand as this causes the neck to bend at an odd angle. As you find a place for your head to rest, try putting a little pressure into the head and see how it feels. Let up, and maybe try another spot. The point of this step, aside from general setup of arms and body, is to find the place on your head that feels most comfortable with a little pressure on it while not actually balancing. Once you find the spot you will balance on, commit to it. You are going to keep that spot on the ground and not let the head shift around as you move through the other steps. From here, pull the humerus bones into their sockets, push the elbows into the ground, and keeping the arms where they are, imagine pulling the elbows in toward each other. This will engage the arms to give you a steady base as you move onto step 2. |
 |
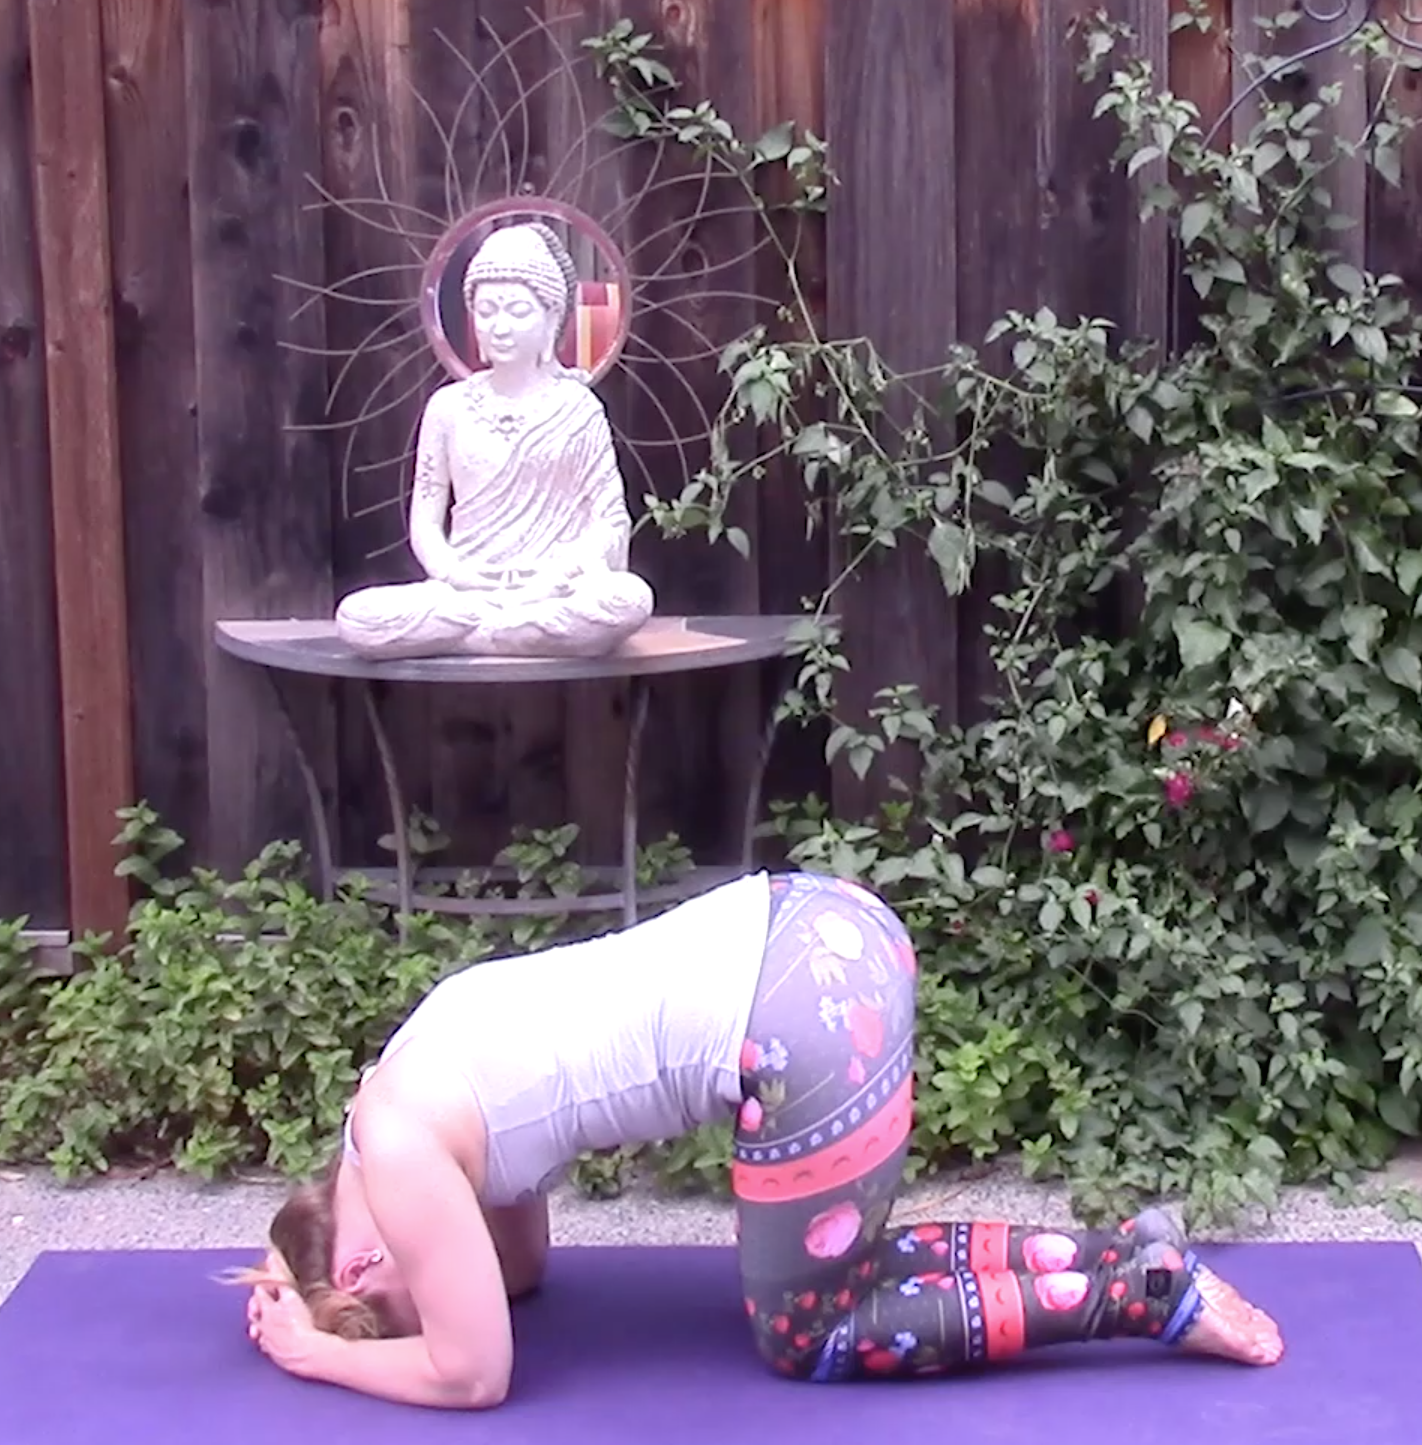
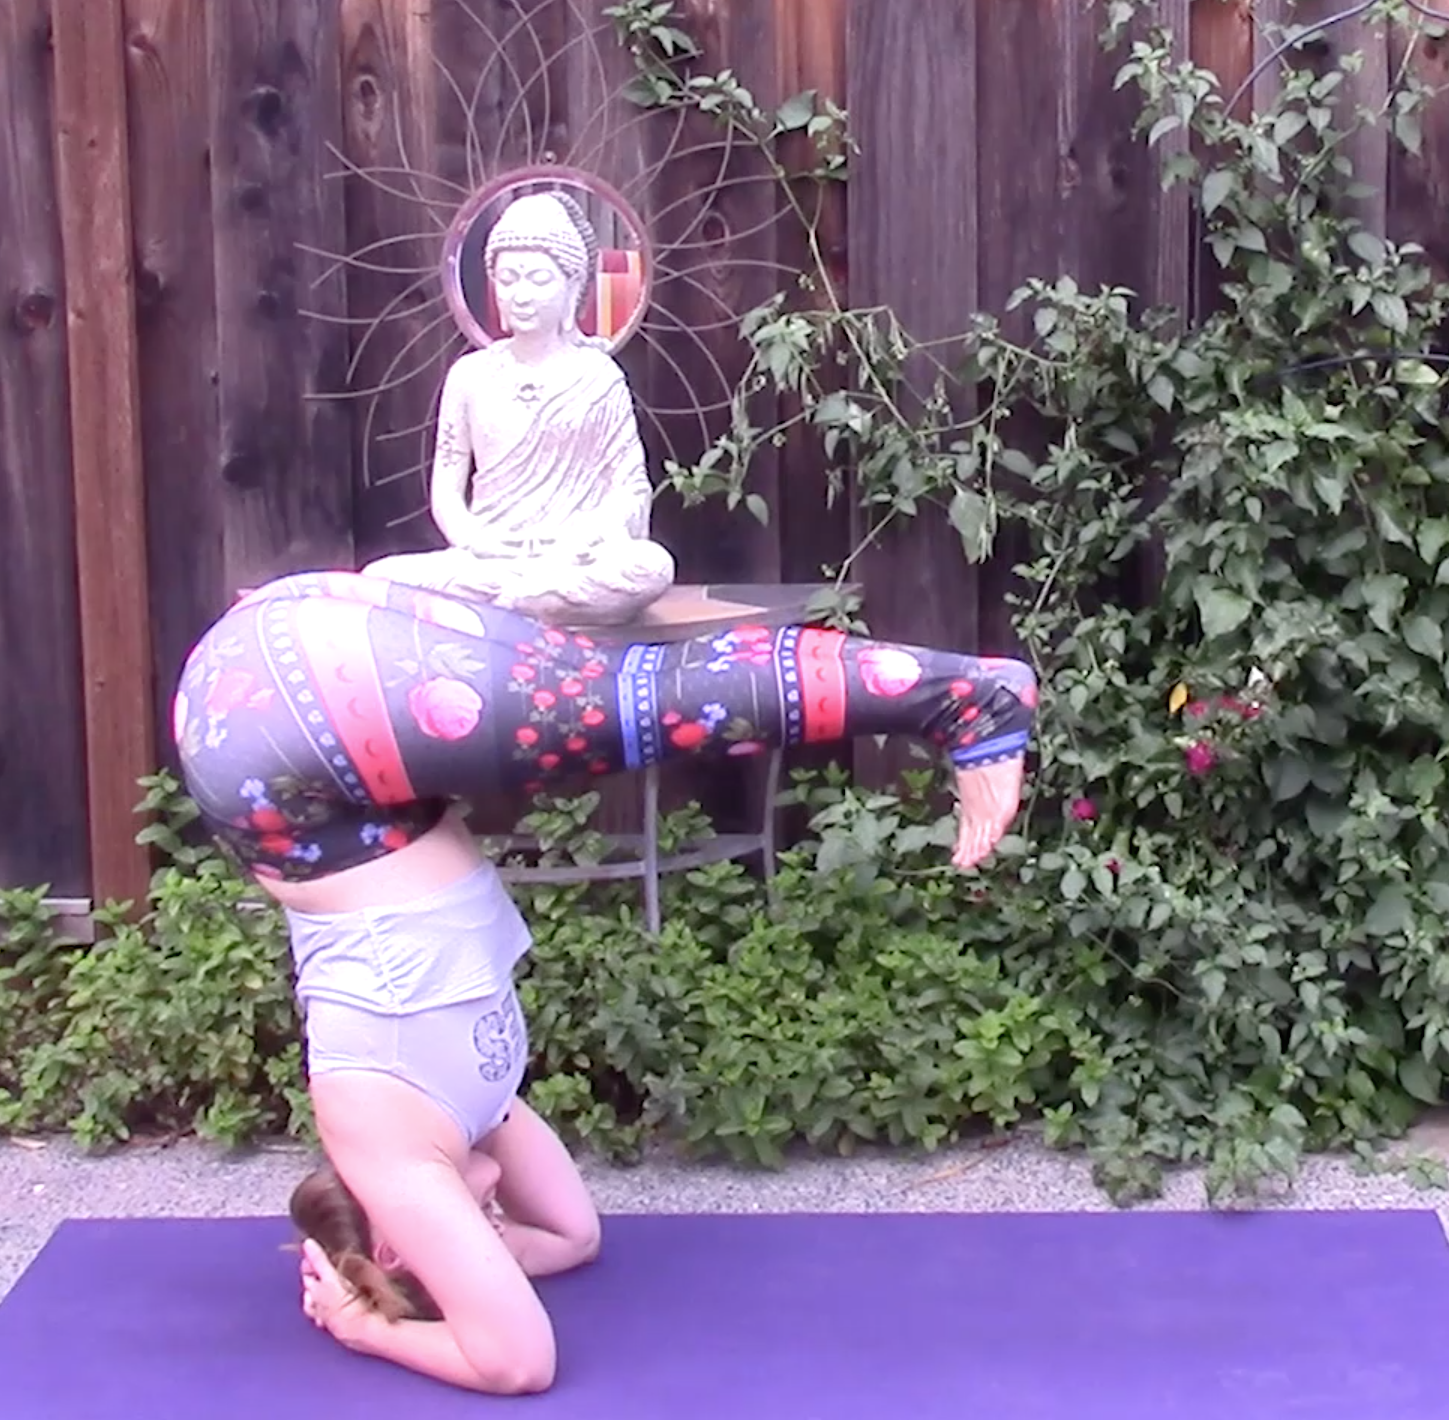
Step 2: Walking toward the head From step 1, lift the hips in the air, coming onto the toes, keeping the arms and head grounded. Take a moment to get a feel for this position and notice if the head has shifted from the spot you committed to balancing on. If at any point you feel the head moving around from that spot, come back down to child’s pose, then start again at step 1. If as you lift your hips you feel steady, begin to walk the feet toward the head. You should walk the feet as close as you can get them to the head, feeling the hips begin to come closer to stacking above the shoulders. At this stage I suggest walking back and forth a few times to get a feel for movement in the body, but steadiness in the arms and head. There will also be more pressure put on the crown of the head at this stage, but you should still be pushing the earth away with your arms, so even though the head is in contact with the mat, you are not dumping weight into the head and neck. |
  |
Step 3: Bending knees in, one at a time In step 2, once you walk the feet in as close as you can to the body, try bending one knee at a time, bringing the heel as close as it can come to the buttock. Let the foot come back down to the ground and try the other side. Keep alternating lifting one knee at a time, until you may possible feel the grounded foot lift a bit too, as you see in the second picture. Note – you don’t want to kick up, but you want to feel the hips begin to stack over the shoulders, and as they do, the foot might naturally begin to lift away from the ground. |
 |
Step 4: Pulling both knees up and hovering From step 3, assuming you still feel steady and your arms and head are still grounded in the place you have committed to, lift the second foot up, bending the knee and coming into what I like to call headstand ball. Focus on keeping the hips stacked over the shoulders and pushing the forearms into the ground. When you get to this point, set your gaze on the object you placed at the end of your mat. Find steadiness here, noticing the quality of your breath. Try to keep the breath calm and deep, and notice how the body moves with each inhale and exhale. If the body begins to wobble or you start to tire, be sure to come back down and rest in child’s pose. If you are new to headstand, I suggest stopping at this step the first few times as you get a feel for the way your body is stacked and pressure on the upper body and head before moving on. |
 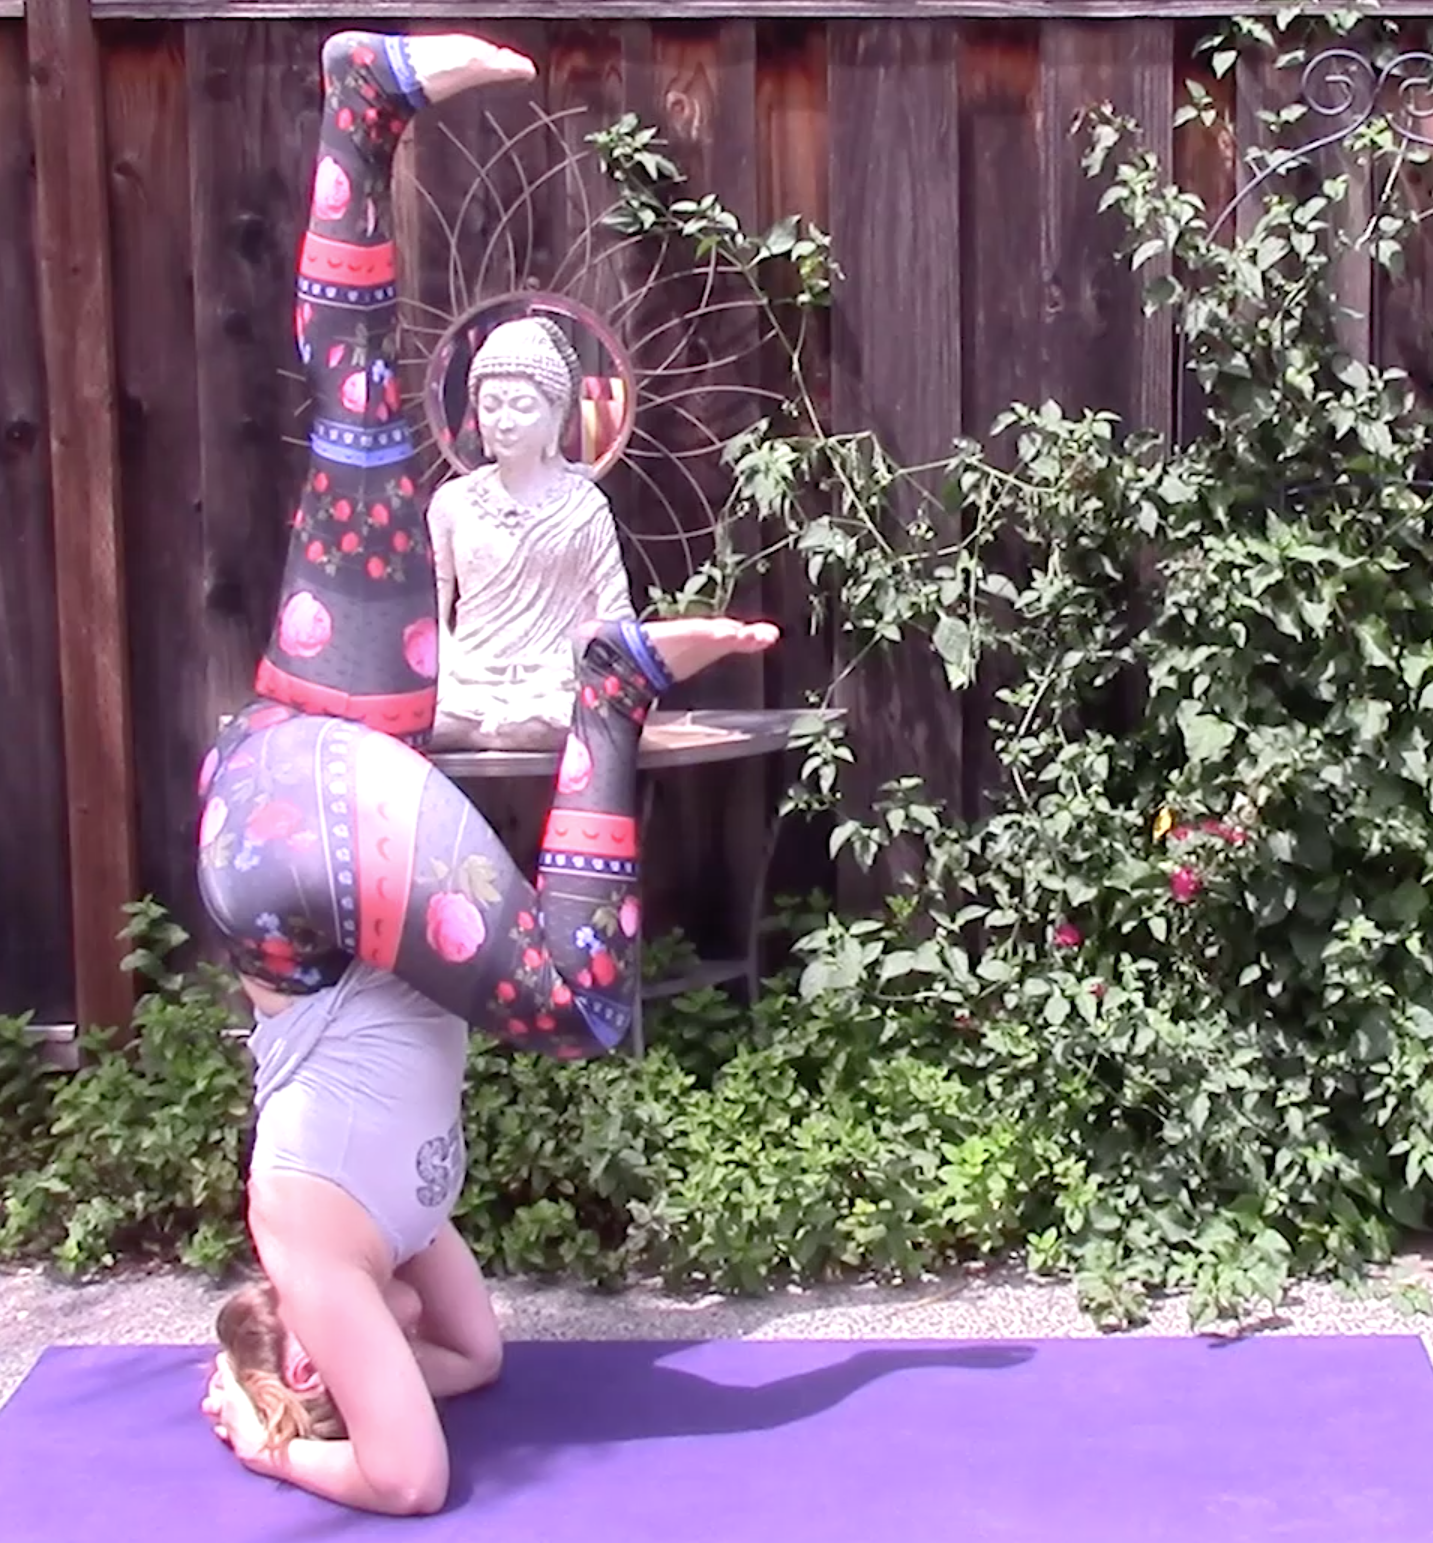 |
Step 5: Straightening one leg at a time When you feel completely stable in step 4, begin to straighten one leg toward the sky, keeping the other knee bent towards the body. As you stretch the leg up toward the sky, flex the toes, imagining that you are pushing the foot against the ceiling. This lift helps pull the body up. Stay for a few breaths, then bend the knee, returning to the ball. Stretch the other leg up and hold. I will repeat what is stated at the top of this table, because it is important. If you feel unsteadiness, bring both knees back toward the torso (the ball) and come down out of the pose the way you went in. The purpose of keeping one knee bent in is so your center of gravity will take you back this way, as opposed to somersaulting you over, which you do not want to do. Ensure you have steadiness in each leg before moving onto step 6. |
 |
Step 6: Headstand! Once you’ve felt steadiness in step 5 on each leg, try straightening the bent leg so both feet come toward the sky. Flex the toes toward the shins and keep the legs engaged to start. Over time, as you find steadiness and ease in the pose, relax the feet and legs a bit and settle into your balance. Hold the pose for as long as you feel comfortable and steady. When you are ready to come down, bend the knees back toward the torso, and rest the feet back to the ground. Or, try the next step once you feel comfortable in headstand. |
 |
Bonus Step: Headstand Pike Once you feel comfortable in headstand and you’ve been practicing it a while, you can try piking the legs down to build more strength in the core. From headstand, engage the feet and legs, and slowly lower the legs back toward the floor, keeping the legs together. When the legs are parallel to the floor, pause, taking 7 or 8 deep breaths in headstand pike. From here, slowly lower the feet to the floor and come into child’s pose. It is much easier to lower into headstand pike than to lift the feet from the floor into headstand pike. However, in time, the muscles you have built up lowering into it will help you press up from the floor through pike and into headstand. This is advanced, so be sure to try it only after you have practiced headstand and headstand pike for a while and feel very comfortable in the asana. |
That’s headstand in 6 steps! If you give it a try, let me know how it feels. Is this easier than other methods you’ve followed, or do you get stuck somewhere along the way?
Always be conscious of your body and how it is feeling today, in this moment. If you feel any pain, discomfort, or dizziness, you should stop practice immediately, and seek medical advice as appropriate.