Some of the comments I hear most often about a home yoga practice is, “It’s so hard to do a practice at home,” and, “You must be really dedicated to have a home practice,” and, “I don’t know where I would start.” I’ll share a little secret – I’m not that dedicated, I just like how my body feels when I do yoga every day. For many years, I didn’t have the money to go to a studio daily. Getting there on time or spending 60 – 90 minutes in a class isn’t always an option. So a home practice was definitely the more convenient one.
But the best part about the practice during [my college] days? It was free. It required nothing other than a little space. I could do it at 4 am if that’s when I got home, or at 3 pm if I had a little free time. I didn’t need special clothes or props or a gym membership. I just had to stop what I was doing and concentrate on my body.
from My Yoga Journey, Part 1: Discovery
So with this article, I want to address the comment, “I don’t know where I would start.” There’s a crazy amount of yoga information out there, numerous styles of yoga, and until I took the time to really study them during my teacher training, I was just as baffled as you may be when it came to trying something different from my regular practice which I had randomly stumbled upon years ago. I’ll provide a lot of information here, but hopefully it gives you a few different starting points and tools to develop your own home practice.
Sources of Yoga Information
There are many, many more sources of yoga information than what I have listed here, but I’m going to make a couple of assumptions. If you’re looking to start a yoga practice, you’re probably more familiar with hatha yoga than other styles, thus I’m listing more classical-style books (by classical, I mean mid-20th century, focused on “traditional” yoga poses). Also, this is where my interests mainly lie, and while I’ve delved into many other styles and borrow from them, I feel most comfortable recommending these books and websites because I have experience with them.
Books
The Sivananda Companion to Yoga by the Sivananda Yoga Center: This book is where I started my yoga journey. It is the basis of my personal practice and has sustained me for many, many years. Besides asana, it talks about pranayama (breathing techniques), kriyas (cleansing techniques that might make you run!), and diet. Take or leave any of this information, though I do highly recommend practicing the pranayama. The Sivananda method puts the body through a great range of motion with the spine, compressing and stretching each section in a way that helps me release all the stress and tightness in my back. It is a bit light on standing postures, though it gives a cursory overview of them toward the end of the book, so you could always work them into the standing portion of your practice.
What may be seen as a pro or con – this book does not recommend using props, which means you need nothing to make it through your practice. Of course, this could easily lead you to frustration or injury if you try to copy the posture as it is listed in the book. I find it best to use this book in conjunction with something like Yoga Journal (see below) to get a better understanding of contraindications and how to adapt for them.
Pros: I love that this book has a sequence completely laid out on a 2-page spread with recommended timing and a 4 week progression to get one from beginner to “expert” (though I might change the timing of that from 4 weeks to a lifetime). The chart contains the English names for the asanas, and you can easily see what is being added to the sequence as you progress from week to week. Obviously, I feel the sequence has worked for me since I still come back to this practice time after time. Moving through the wide ranges of motion in the spine helps keep the discs healthy and counteracts the amount of time we spend sitting in front of technology. There is also an express practice suggested that takes about 30 minutes to complete if you don’t have time for a 90 minute practice. The time allotted for each asana is substantial, so you can take time to work into the pose and fully feel its benefits.
Cons: The aforementioned lack of information on how to work into the postures to account for injury, body type, lack of strength, or lack of flexibility. The latter two will come in time, but until then, you will need to consult other sources to figure out the best way to work into the asanas. If you have any issues with the cervical spine, this practice might also not be the right one for you, as the first three asanas are headstand, shoulderstand and plough after you warm the body up. This wasn’t a barrier for me starting the practice in my late teens, but it might be a barrier for those who need to slowly work into what are considered by some to be advanced asanas. While I like the long-held asanas, for some people this might exacerbate injuries if they are not practicing a proper adaptation.
The sequence: Sivananda starts with pranayama, moves into some light warm ups, then sun salutations (a bit different from the ashtanga salutation, but similar) and core work, then moves into asanas: inversions, forward bends, backbends, spinal twists, arm balances, and ending with standing work before savasana. Asanas are held anywhere from 3 to 10 minutes.
Yoga: The Iyengar Way by Silva, Mira & Shyam Mehta: This book has a good overview of many popular yoga poses, as well as instructions on how to work into the pose if you’re not ready to fully go into it. Iyengar is best known for his use of props to help students learn how to best work into each asana, and in this book they are covered. This is the book I would recommend first to those new to yoga, or those who have issues such as injury or lack of strength and flexibility, since it has information on props, working into asana, and large illustrations that help one understand what they are doing. It also contains information on pranayama and a short section on meditation. In the back, it has a recommended scheme of “courses”, or the sequencing that you should start with. The courses are done over multiple weeks to help you progress in your strength and flexibility. The book also contains courses for certain ailments, such as back ache, indigestion, headache, etc.
Pros: This book is great for anyone who wants to give yoga a try – whether they are new to the practice, extremely flexible, lacking flexibility, extremely strong, lacking strength – you get the idea. The sequence starts with standing postures, which are a low barrier to entry since many of us stand easier than we invert!
Cons: The courses listed in the back of the book list the asanas by their Sanskrit name rather than the English name. While I have a sense of Sanskrit, I’m still not well versed in it, so I find this most tedious to rack my brain for the English translation or have to look it up (page numbers are listed, thank goodness!). For most of the asanas, the timing is not mentioned in the back, so even if you know the Sanskrit, you will need to refer back to the page describing the asana to know how long you should aim to hold it making it hard to quickly get a sense of how long a course will take.
While I have the props listed as a pro here, if you are limited on funds or traveling, you might see this as a barrier to entry with your yoga practice. Further down in the article I have listed common household items that can be used in place of props.
The sequence(s): This book contains two sets of courses – the first set will take you through 13 weeks of practice. The second set is 36 courses that will take you through a recommended 18 months of practice. Each course has lessons that alternate through the days of the week – so one day you do one practice, the next day a slightly different one. The focus is heavy on standing postures, ending with shoulderstand and plough, which seems a bit odd to me since, despite the fact props and modifications are to be used in these last two poses, this sequence lacks a warm up of the cervical and thoracic spinal areas that I usually feel necessary to attempt these postures. The focus in the earlier weeks is definitely to build a strong core and strengthen muscles in the legs. Backbends show up much later on; they are first seen in week 8 with reclining bound angle modified with a strap and bolster. I find backbends essential in today’s society, as we are typically hunched over a smart phone, computer, or tablet, so this is something that is also a little off for me in this yoga practice.
In the Iyengar books, it is suggested that pranayama only be undertaken after strengthening the body and lungs with asana, suggesting you wait 2 years into your practice to start! Pranayama is suggested as a separate practice from the asana practice.
Light on Yoga by B. K. S. Iyengar: I will not go into a detailed account of this book, as the above book is an abbreviated version of this one, considered by some to be the “Bible” of yoga. For that reason, I mention it. It contains 592 asanas, 300 weeks of courses, as well as courses by ailment (to be taken with a grain of salt – while I find some recommended poses therapeutic, I’m not sure about the “curative” claim). The illustrations are photographs of B. K. S. Iyengar demonstrating the various asanas, and this book lacks the detail of how to modify poses with props. It does cover pranayama as well as one bandha and one kriya (nauli, or stomach churning). Used in conjunction with another source, this book is indeed a noted compendium of yoga knowledge that might overwhelm upi, but it will make you want to reach for the stars at the same time.
Pros: It contains 300 weeks of courses! Maybe in 6 years I could become the next Iyengar? I’ll only know if I buckle down.
Cons: Similar to above, the courses list the asanas in Sanskrit, and the timing is buried in the pages describing the asana. Additionally, in this book, instead of noting a time unit, it often notes the number of breaths one should take (3 breaths… 5 breaths…). Just like above it takes a little time spent to figure out how long your practice will take.
The sequence(s): The courses in this book are similar to the Silva & Mehta book above, but each week has a set practice as opposed to alternating practices to start. While the asanas aren’t exactly the same, they’re similar enough the first 8 weeks, focusing heavily on standing postures and ending with shoulderstand and plough, but without mention of the props. As one progresses, there does start to be suggestion about altering the practice so each day of the week has something different.
Websites
Books contain a wonderful wealth of knowledge, but some people need to see and hear rather than read, to fully grasp knowledge. Also, while the books I recommended are good for those that crave routine, utilizing websites with never-ending updated classes and information can prevent one from becoming bored with a set routine, and it can help inject a personal practice with new ideas. The plus side of a set routine is it will become so familiar that you can practice with no reference to printed material at any time. It also provides a baseline sequence, which once you know it, you would feel comfortable swapping out various asanas in the same family if you felt the need for something new and different. Fresh classes injected into your practice in a variety of styles will give you a sense of where your body may need more attention for strengthening, protecting, or stretching.
Yoga International: Yoga International is a great tool for those who are looking to yoga for therapeutic benefits. While it does have a variety of classes, I seem to find more restorative sessions that I enjoy here as well as articles or videos about taking care of injured or sore spots (SI joints, knees, shoulders, etc.). The great thing is you can view 10 pieces of content per month for free, but this lumps together articles and videos, so you had better be spot on in what you are looking for. Also, while the teachers are very knowledgable, I find the personalities to be somewhat lackluster compared to other yoga video sites out there.
Price: $7.99/month special, reg. $14.99/month; or view 10 posts per month free by creating a log in
My Yoga Online: My Yoga Online is possibly the best value for the money in regards to the amount of content available, the quality of content, and the fun factor. They have a wide variety of yoga videos that cover nearly every style of yoga as well as a few other fitness modalities. The videos run the gamut from short practices to long videos of festival workshops, in-studio practices to gorgeous scenery in places like Bali, and everything from vinyasa and power yoga to restorative yoga and meditation.
Price: $9.95 per month or $99.95 per year
Yoga Journal’s poses section: Mentioned above as an additional source of information to use in conjunction with books, this site can be a good source to discover modifications of a pose or to browse similar poses; they have a section that sorts poses into classifications such as backbends, forward bends, arm balances, and more. Look towards the bottom of a pose page for contraindications, which will list a variety of issues one might encounter and possible modifications. Looking at the poses sorted by type, you can get ideas of asanas you might want to swap into your practice if you’re following a certain sequence, substituting one standing pose or backbending pose for another to develop variety.
Price: Free
YinYoga.com: Yin Yoga is a style of yoga that focuses more on stretching the connective tissue and fascia instead of muscle, and it can be very beneficial. Expect longer held asanas that stretch areas around the joints, breaking up scar tissue, leaving you feeling as if you just had a deep tissue sports massage. This site contains information from Bernie Clark’s book, The Complete Guide to Yin Yoga. All the asanas covered in the book are listed on the site, some with video. You’ll have to do a little digging to figure out the sequencing of postures, or you can buy his book for around $10 which describes ten sequences in detail.
Price: Free
Grokker: Grokker is a new-ish website that provides videos from “experts” on fitness and cooking. While I’ve not used the site extensively, the quality of the videos I have tried have been great. Grokker currently has 738 yoga videos on their site in a variety of styles, but some styles might not have that many available videos (for example, there are only 5 kundalini videos, but 243 vinyasa videos). You also cannot search for videos by duration as you can on other sites.
Price: Free once you create a log in
Taking Care of Your Body
Starting slow, listening to your body, and doing a little bit every day. All of these are easier said than done, but they are key to building a solid yoga practice you will want to come back to again and again.
Listening to your body
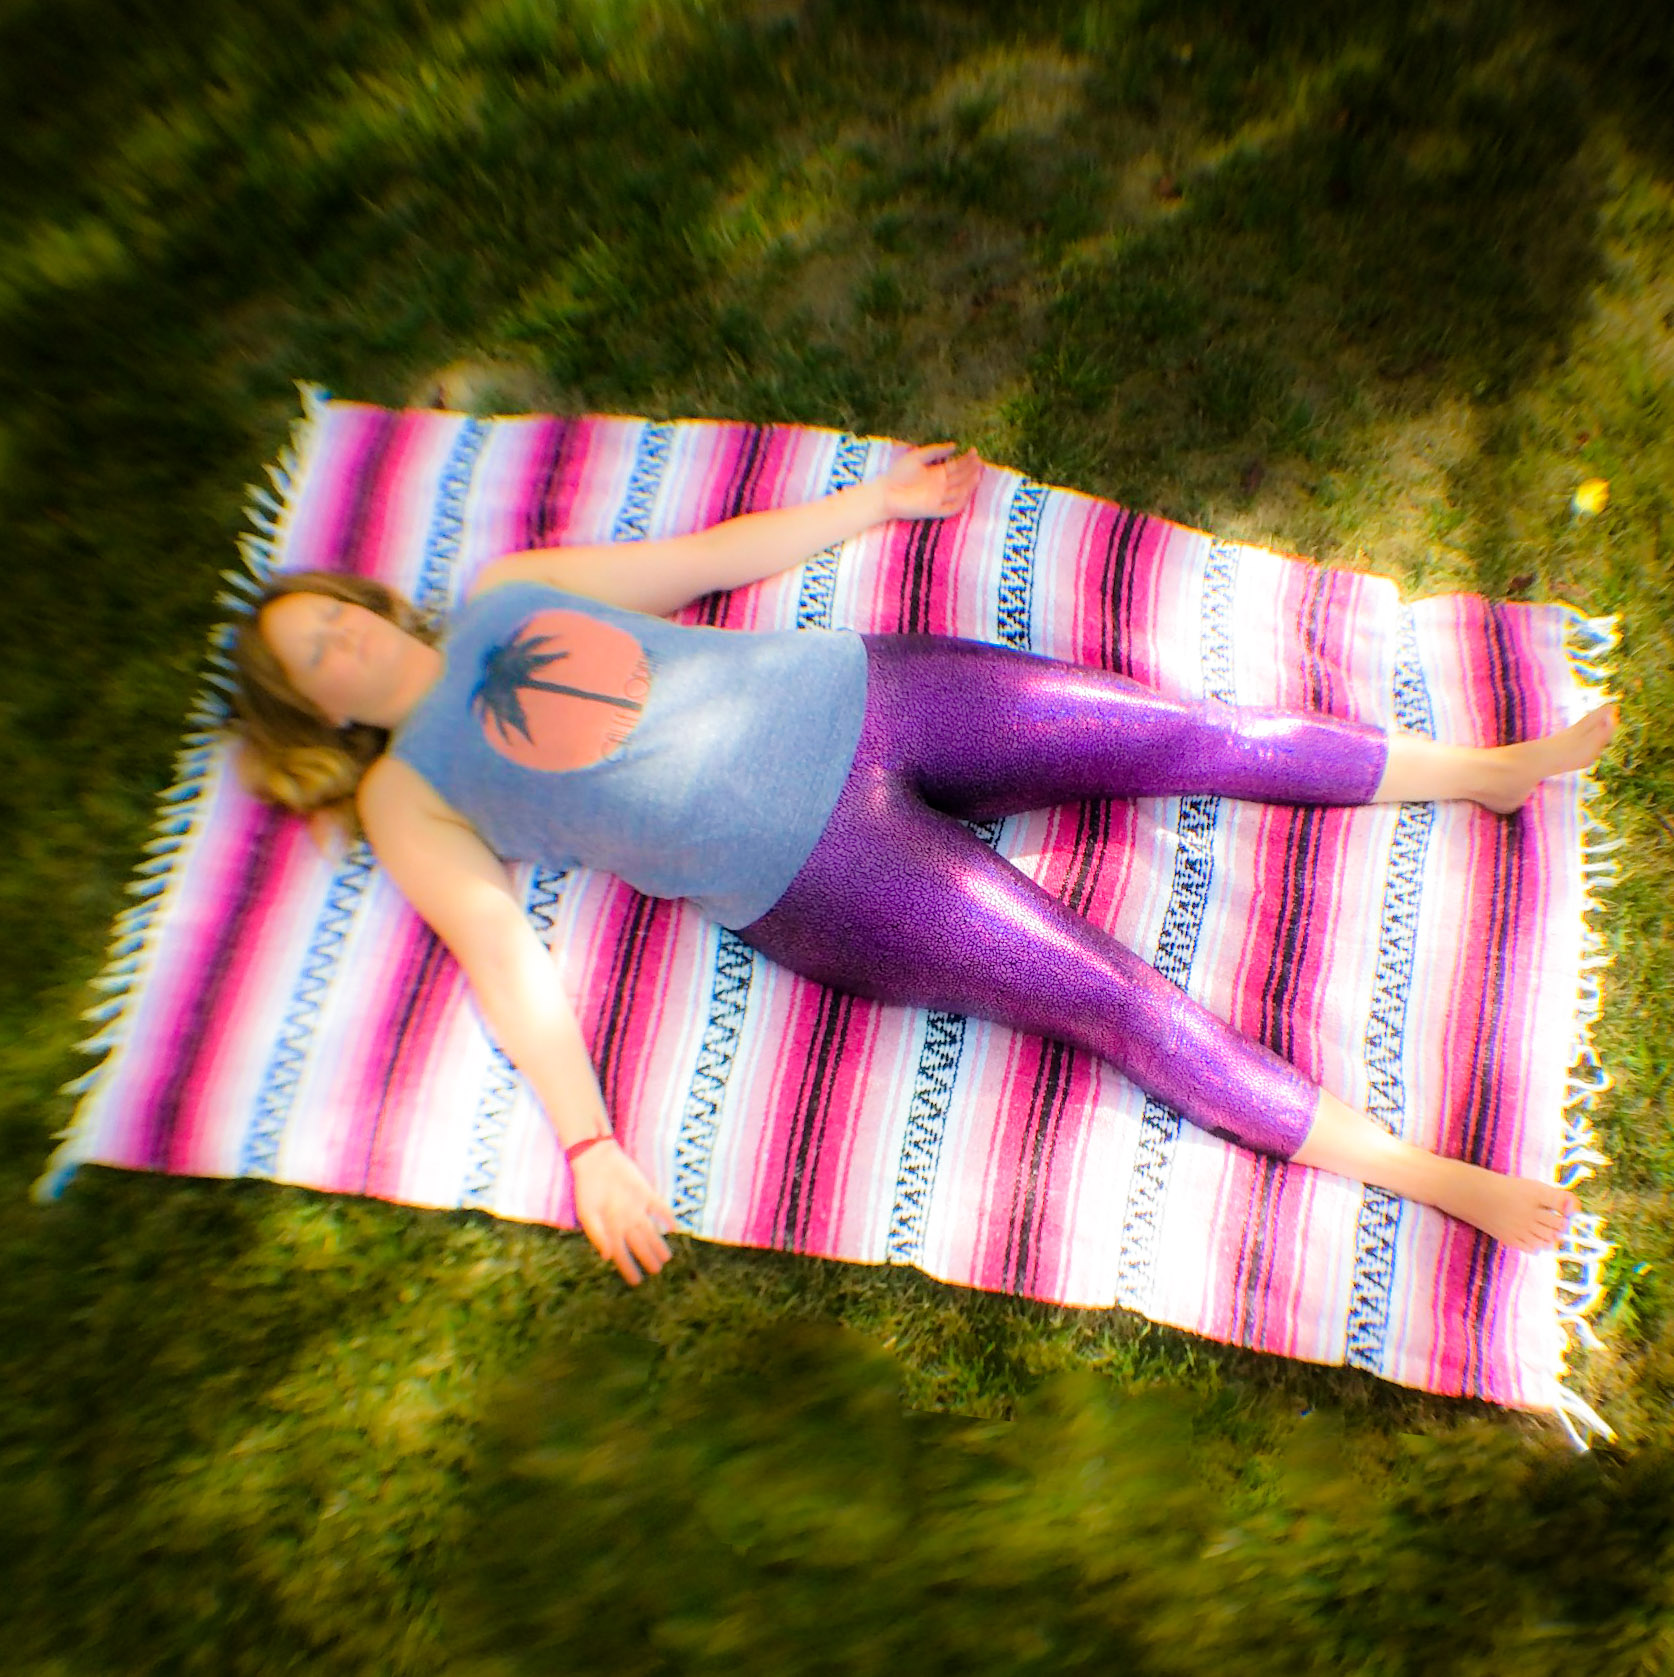
Possibly most key to your yoga practice is developing the ability to truly feel your body and its reaction to the various asanas. Over the years we build up patterns of holding tension in our muscles making it hard to determine if they are functioning the way they should or not. In time, yoga should help you learn to relax those muscles so you know how your body feels when it is truly at ease, and so you can better understand the stresses you are putting on your body during your practice and during your day. I’ve found corpse pose to be one of the best ways to listen to my body, interspersed between asanas, but everyone finds their own way eventually.
Another key in listening to your body is being able to discern pain from discomfort. One never wants to feel pain in a yoga pose, and if you do, you should back off immediately. However, there may be a level of discomfort in a pose, as you work to hold or stretch into the asana. Learning what areas of the body a pose should be stretching or strengthening can help you determine if you should be feeling discomfort where you are, e.g. if the pose targets a stretch in the glutes, but you’re feeling something in your knee and nothing in your glutes, then maybe you find a different way to work into the pose, or a different pose altogether. In that example, if you’re feeling a stretch in your glutes but a pain in your knee, you would also back off and look for something different to do. That’s the beauty of yoga – there are hundreds to thousands of asanas, if one doesn’t work for you, find another, or make up your own!
Starting slow & Doing a bit every day
For many of us, we approach yoga as an exercise to build strength. As is human nature, we want to get the most bang for our buck, so to speak, and we over exert ourselves one day, then the next we need to rest and recuperate. I know everything says this, but I’ve really found it to be true: it is better to do a little every day, than a bunch once a week. A little every day will keep the muscles from locking up and hurting, which they will if you go all out once a week. Great for building strength, but not so much for increasing flexibility. When I’ve stopped my practice for some time and come back to it, I feel great after my first session. About 24 hours later, I can feel my muscles begin to tighten and soreness sets in. At that point if I get back on the mat, even if it’s just for a few sun salutations and neck rolls, the soreness subsides, bringing me back to feeling good and increasing my flexibility. After many years of practice I can go a few days without yoga and easily drop back in, but in the beginning this is much harder to do without experiencing discomfort.
Overall, yoga will cause you some discomfort, because you’re stretching and building strength, but it shouldn’t cause you pain. Just make sure you listen to your body over everything else – videos, books, teachers – everything and everyone. Every person is built differently, and most mass tools for sharing yoga are geared toward the “typical” person – who doesn’t exist.
Working with injuries and health issues
First and foremost, you should consult with your doctor to ensure the yoga regimen you decide to undertake works for you. This is not a conversation saying, “I’m doing yoga” if you have injuries or health issues. This is showing a doctor the postures you plan to do and talking through any concerns, as there are many types of yoga, many postures, and not all doctors will be well-versed in what each of them are. A restorative session is going to be quite different from a vinyasa session, their benefits can be different, so take the time to have an in-depth discussion. You only get one body; take care of it!
That said, I will reiterate from above, if you feel pain when doing a pose, stop, no matter who is telling you to continue. More distal points of the body (hands, feet) are common points yoga teachers point to to align the body, but these are the areas of your body that are most affected by differences in a body’s bone structure. So while your middle finger may be pointing straight ahead in down dog, my pointer finger may be the straight ahead finger to alleviate wrist pain. Listen to your body, proceed with caution in any areas that are sensitive in your body.
I’ll talk about two areas I often see or hear students say give them issue, the back and the knees, and one area that I often notice that students don’t, the chest/back/shoulder combo.
There’s a lot of forward bending in yoga. Typically if you experience back pain, or tight hamstrings, you will tend to round in the back. Doing so aggravates the lower back, and this is where people injure themselves further instead of helping themselves. One must be very cognizant of bending at the hips, tilting the pelvis forward, keeping the upper back and shoulders from rounding, and stopping at the point the back wants to come out of its natural curve. The problem is this generally isn’t too far into a forward bend for a lot of people, and they want to look like the picture in the book or video, so they crank themselves on down toward their legs, rounding the back into a big C shape while doing so. Take care to really listen to the body, or have someone watch your forward bend, so you can stop yourself at a point where you don’t round in the back, causing it extra stress. Bend your knees or use a prop to elevate your seat and your upper body to aid in the fold and protect the back.
Holding bent knee poses, like warrior, for a length of time might aggravate knee issues. However, in general putting light pressure on the joint can be good for getting the body to start repairing the area. Instead of holding a pose static, you may want to slowly bend into it, and come out of it, bend into it, come out of it, again and again. Follow your breath and don’t make any quick movements, and over time, it will help repair the knee. This all assumes you are not currently experiencing pain in the knee (and that you have a knee, not a knee replacement), in which case you need to give it time to heal. Engaging the thigh muscles will also help keep pressure off the knee cap in the straightened leg.
In both backbends and postures where it is essential to keep the spine in its natural alignment, one of the things I notice both in my own practice after 12 years at a desk job as well as in nearly everyone else, from teens to adults who don’t work a desk job, is the fact that our shoulder heads want to roll forward, sinking our breast bone in and bowing the thoracic spine out far more than it should. Keeping neutral spine alignment once this happens is hard enough, as it feels like a backbend, but it makes many backbending postures nearly impossible for a lot of people, forcing the movement to come completely from the lumbar-thoracic connection, crunching that area of the spine. Practicing tadasana, which I will cover in video next week, can help you start to find the feeling of a neutral spine which you can then carry through your practice. Focusing on keeping the floating ribs pulled in, the navel pulling toward the rib cage, the breastbone moving forward, shoulderblades rolling down on the back and pulling in, but not pinching, can help keep pressure off the lumbar area in backbends. It’s a lot to remember, but give at least one or two of those a try, and you’ll feel the difference. Once it becomes second nature you’ll be able to run down that checklist in mere seconds.
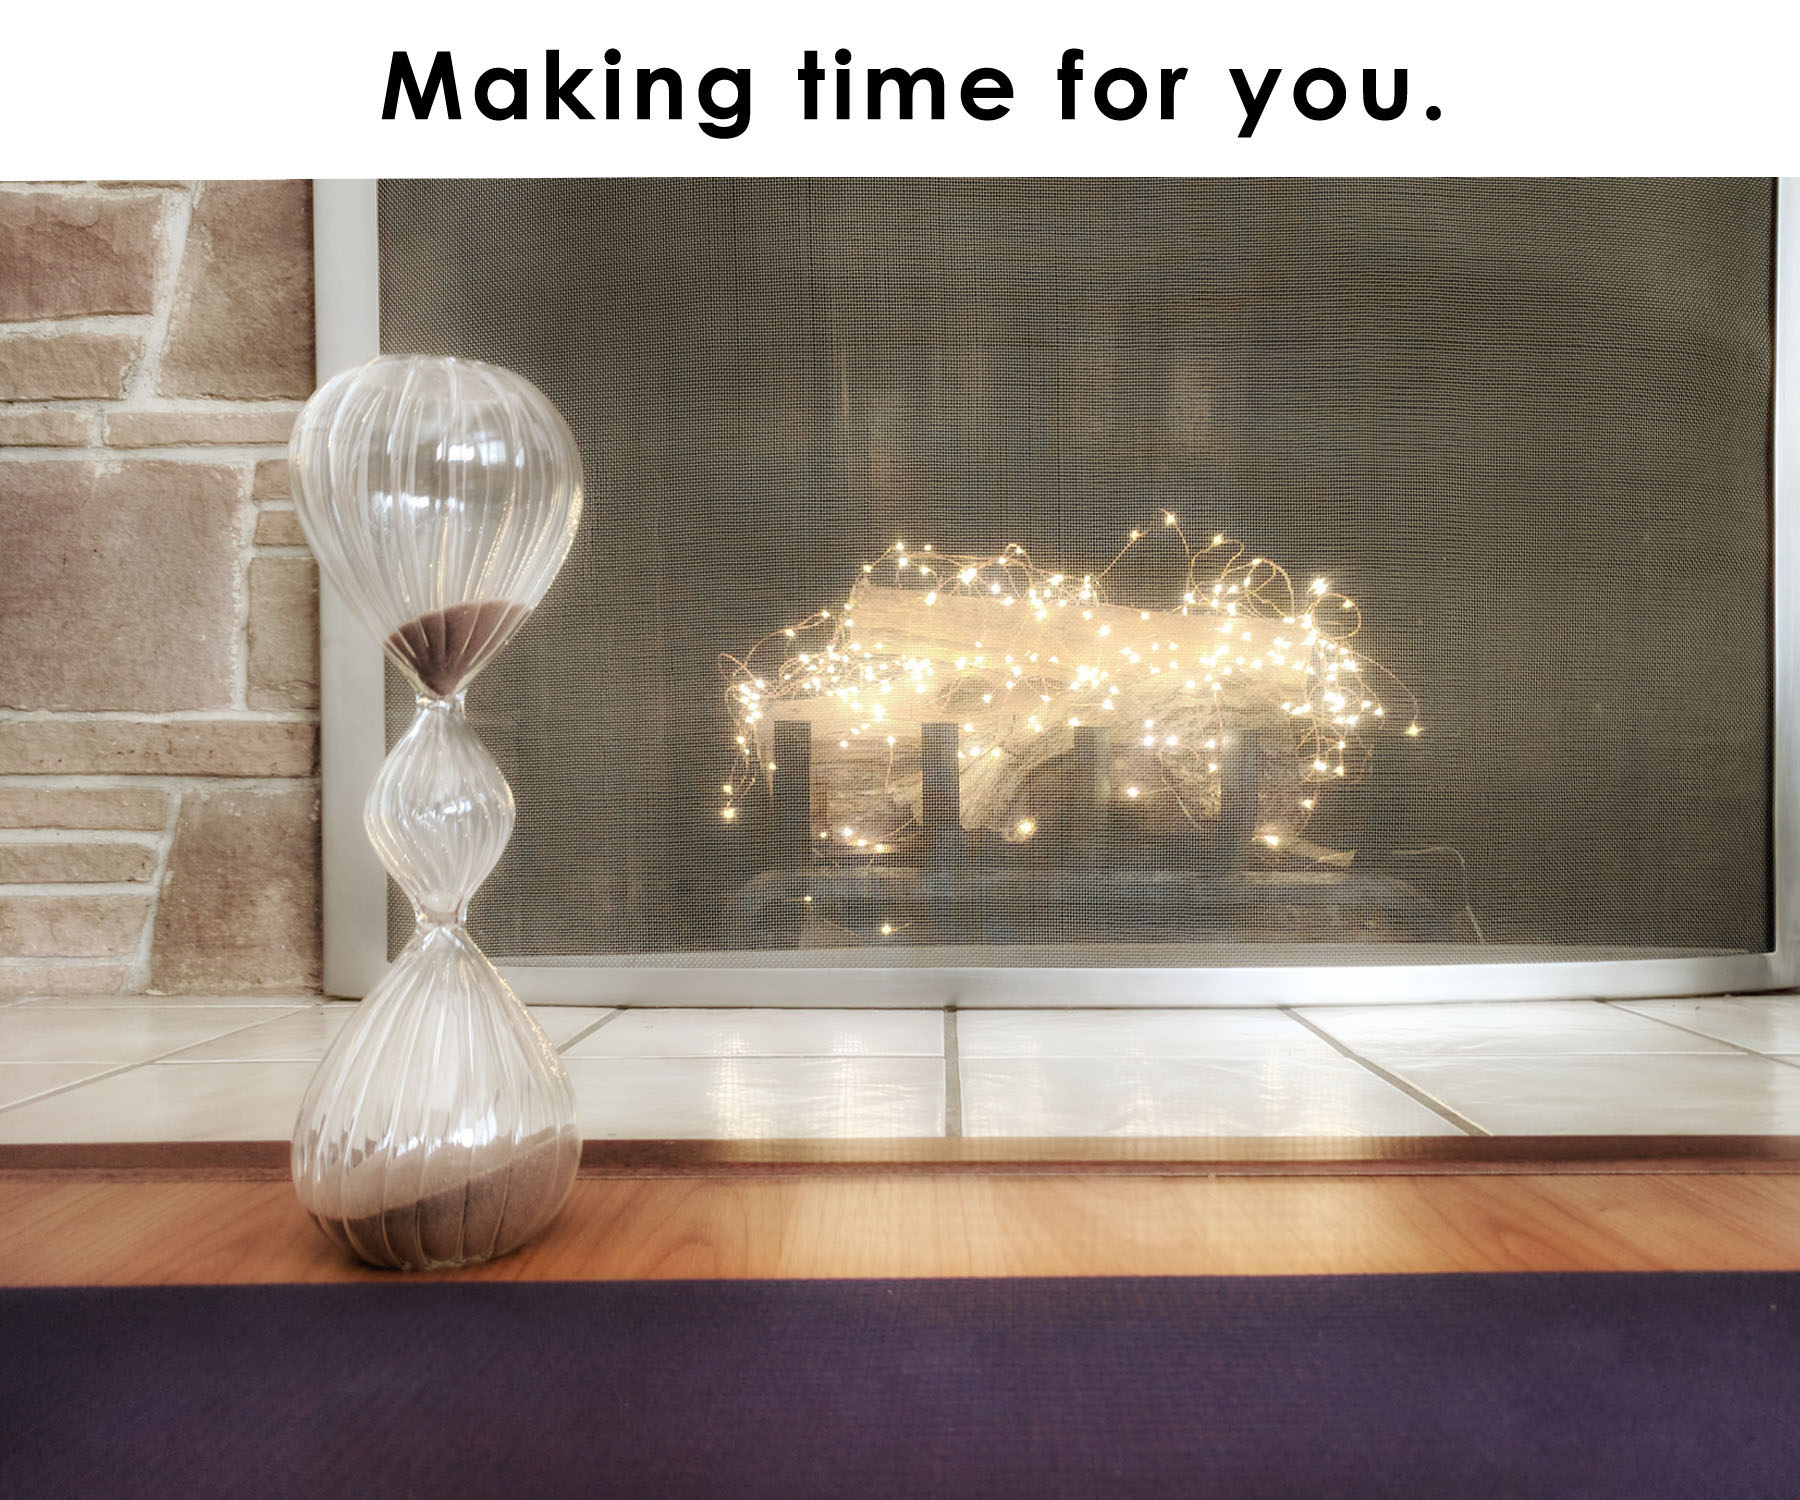
Time & Space
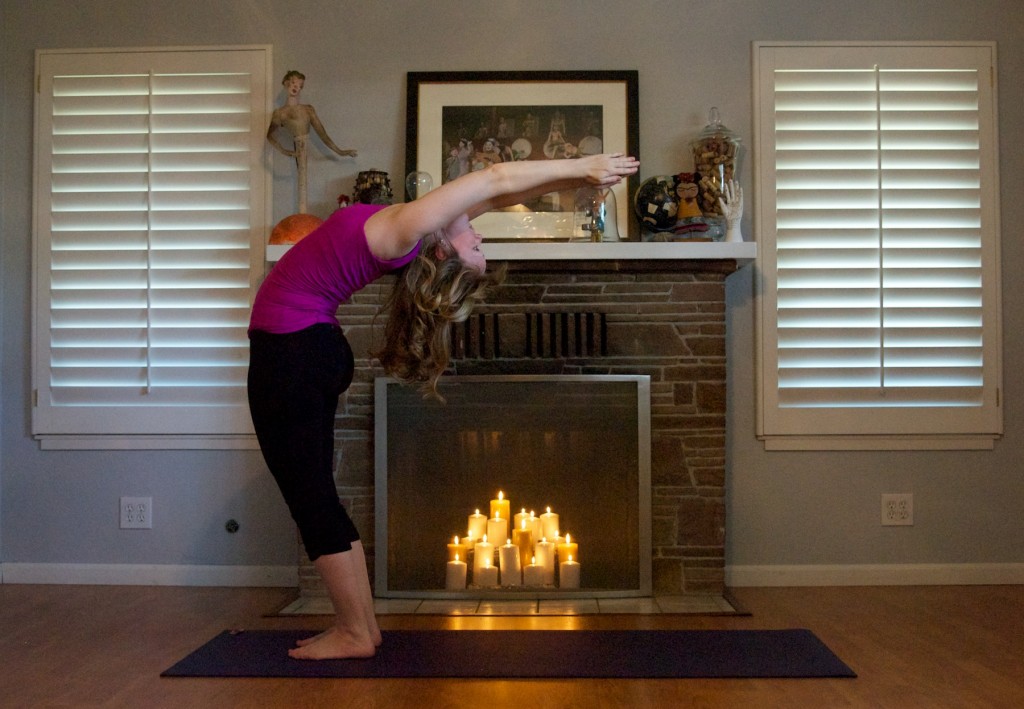
See that picture up there? Doesn’t it look lovely? Cute yoga clothes, a big, empty space, and the mood lighting of the candles creates a beautiful space, fit for photographing. Which is why my space was set up this way in the first place. Don’t get me wrong, if you have the ability and the want, set up your space this way. Most days my mat is plopped down in between the furniture that is normally on either side of the fireplace, or outside on the deck, or in the middle of the living room rug. All of those places work just as well as my pretty picture up there, with less effort.
Props
When I started my practice, I just cleared a spot in the middle of my studio apartment. No mat. No yoga clothes. No candles, incense, music. Just me and a set of asanas. The carpet softened many poses which wouldn’t feel nearly as comfortable on hard wood. Indeed, I’ve practiced on hardwood floors as well without a mat, grabbing a hand towel to place under my head or knee in a few of the poses.
Having a mat helps the body stabilize – the stickiness provides some stability instead of forcing the body to work harder to provide it. It also provides a space and a sense of ritual – rolling out the mat, settling onto it – that plopping down onto a dirty floor might not. A mat is not a necessity, but most people find it useful in practice.
Look at any yoga website, and you will most likely see a bevy of props in use. The most common are blocks, straps, bolsters, and blankets.
- Blocks are used to provide extra height for hands reaching for the ground, or to push into to provide a release in some asanas, like supported bridge. Depending on the use, one could grab a hard bound book, a canned good, or even, in a pinch, I’ve used an extremely tightly bound towel as a substitute for a block.
- Straps are often used for reaching areas that we might not be flexible enough to reach yet, such as reaching for our toes or clasping our hands behind our back. A belt will work in a pinch just as well, though it will not be as long as a yoga strap. You can also roll a hand towel lengthwise and grab onto each edge (this works better for the hand scenario, not as well for the toes scenario).
- Bolsters are most commonly used for restorative poses, though they are also be useful in many kneeling positions or twists to prop the body up a bit and take pressure off the area being stretched. Pillows are great substitutes for bolsters, being just a bit softer. Again, a bath towel can also make a good substitute. Just roll it up to the height you need.
- Yoga blankets are wool blankets that vary in size, but tend to be about 60 x 80 inches in size. Most often you will see these rolled and placed under the head for support, or folded and being sat on. A blanket or towel will work fine in both these instances. I also like to keep a lighter-weight cotton blanket around for savasana, as the body tends to cool down during this time. When I get cold I get fidgety, which doesn’t make for a nice savasana!
Out of all the props, I would say a single block would go far if you want to spend the money. However, it really depends on your body and your practice as to what you will need or want.
Space
Speaking of being cold, you definitely want to find a comfortable temperature to practice in. When I wake up in the morning on a winter day, I usually turn on a space heater to warm up my practice space. During the summer, when it is hot outside, I’ll often practice on my back porch, but I slow down my flow a bit so I don’t overheat myself. I’m a person who always tends to be cold, so for someone who is always warm, they may seek out an air conditioned space in the summer, but be perfectly happy in the winter. Again, it’s about finding your comfortable space.
Determine if you want to keep the space quiet, or add some kind of music to your practice. If you would like to add music, you can go with what you love, or for my recommendations on creating a yoga playlist, see the post My Yoga Journey, Part 2: Music. If you’re going for quiet, you can either use your own sense of timing, or if you want to follow a more regimented time table, use an app like Yoga Timer which allows you to create series of times and choose what sound you would like to play when time is up. This is much better than the old method of setting a kitchen timer, which would jerk me out of my calm, happy place.
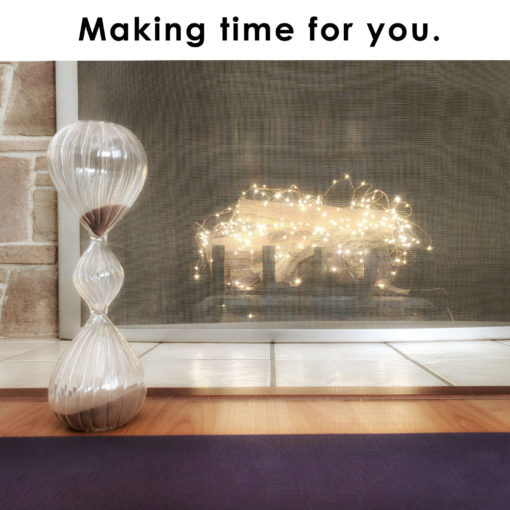
Timing
One of the things I mentioned during the books section is whether or not an abbreviated practice was available. It’s inevitable, some days you will not have the time to fit a whole practice in. So develop an abbreviated practice that you can easily fall back on. Whether it’s 10 minutes, 15 minutes, or 30 minutes, your short practice will keep your body primed and ready when you have an hour or more to dedicate.
Time of day is also something to consider. Our bodies are stiffer in the morning, making it harder to work through the asanas, but a morning practice can wake us up and set the tone for the day. An evening practice finds the body more used to movement and can provide a break in your transition from day to evening if you work a desk job, but it might be hard to carve out an hour in the evening. Some find it’s important to set a time of day and always stick with it, while others are happy to just find the time in any part of the day and work with it. It’s all up to you – whatever gets you to the mat each day!
—
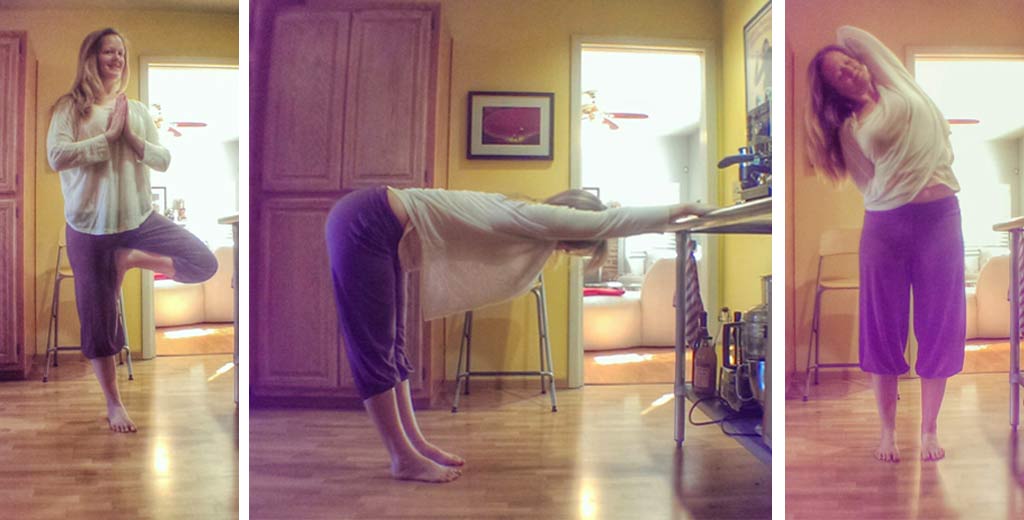
And that’s the loooooonnnng primer of my tips for getting started with your own yoga practice! Next week I’ll cover two asanas that I find most important in listening to my body: savasana and tadasana, or corpse and mountain poses. Subtle, but they yield so much information about what is going on in our bodies when we stop and feel ourselves in them.