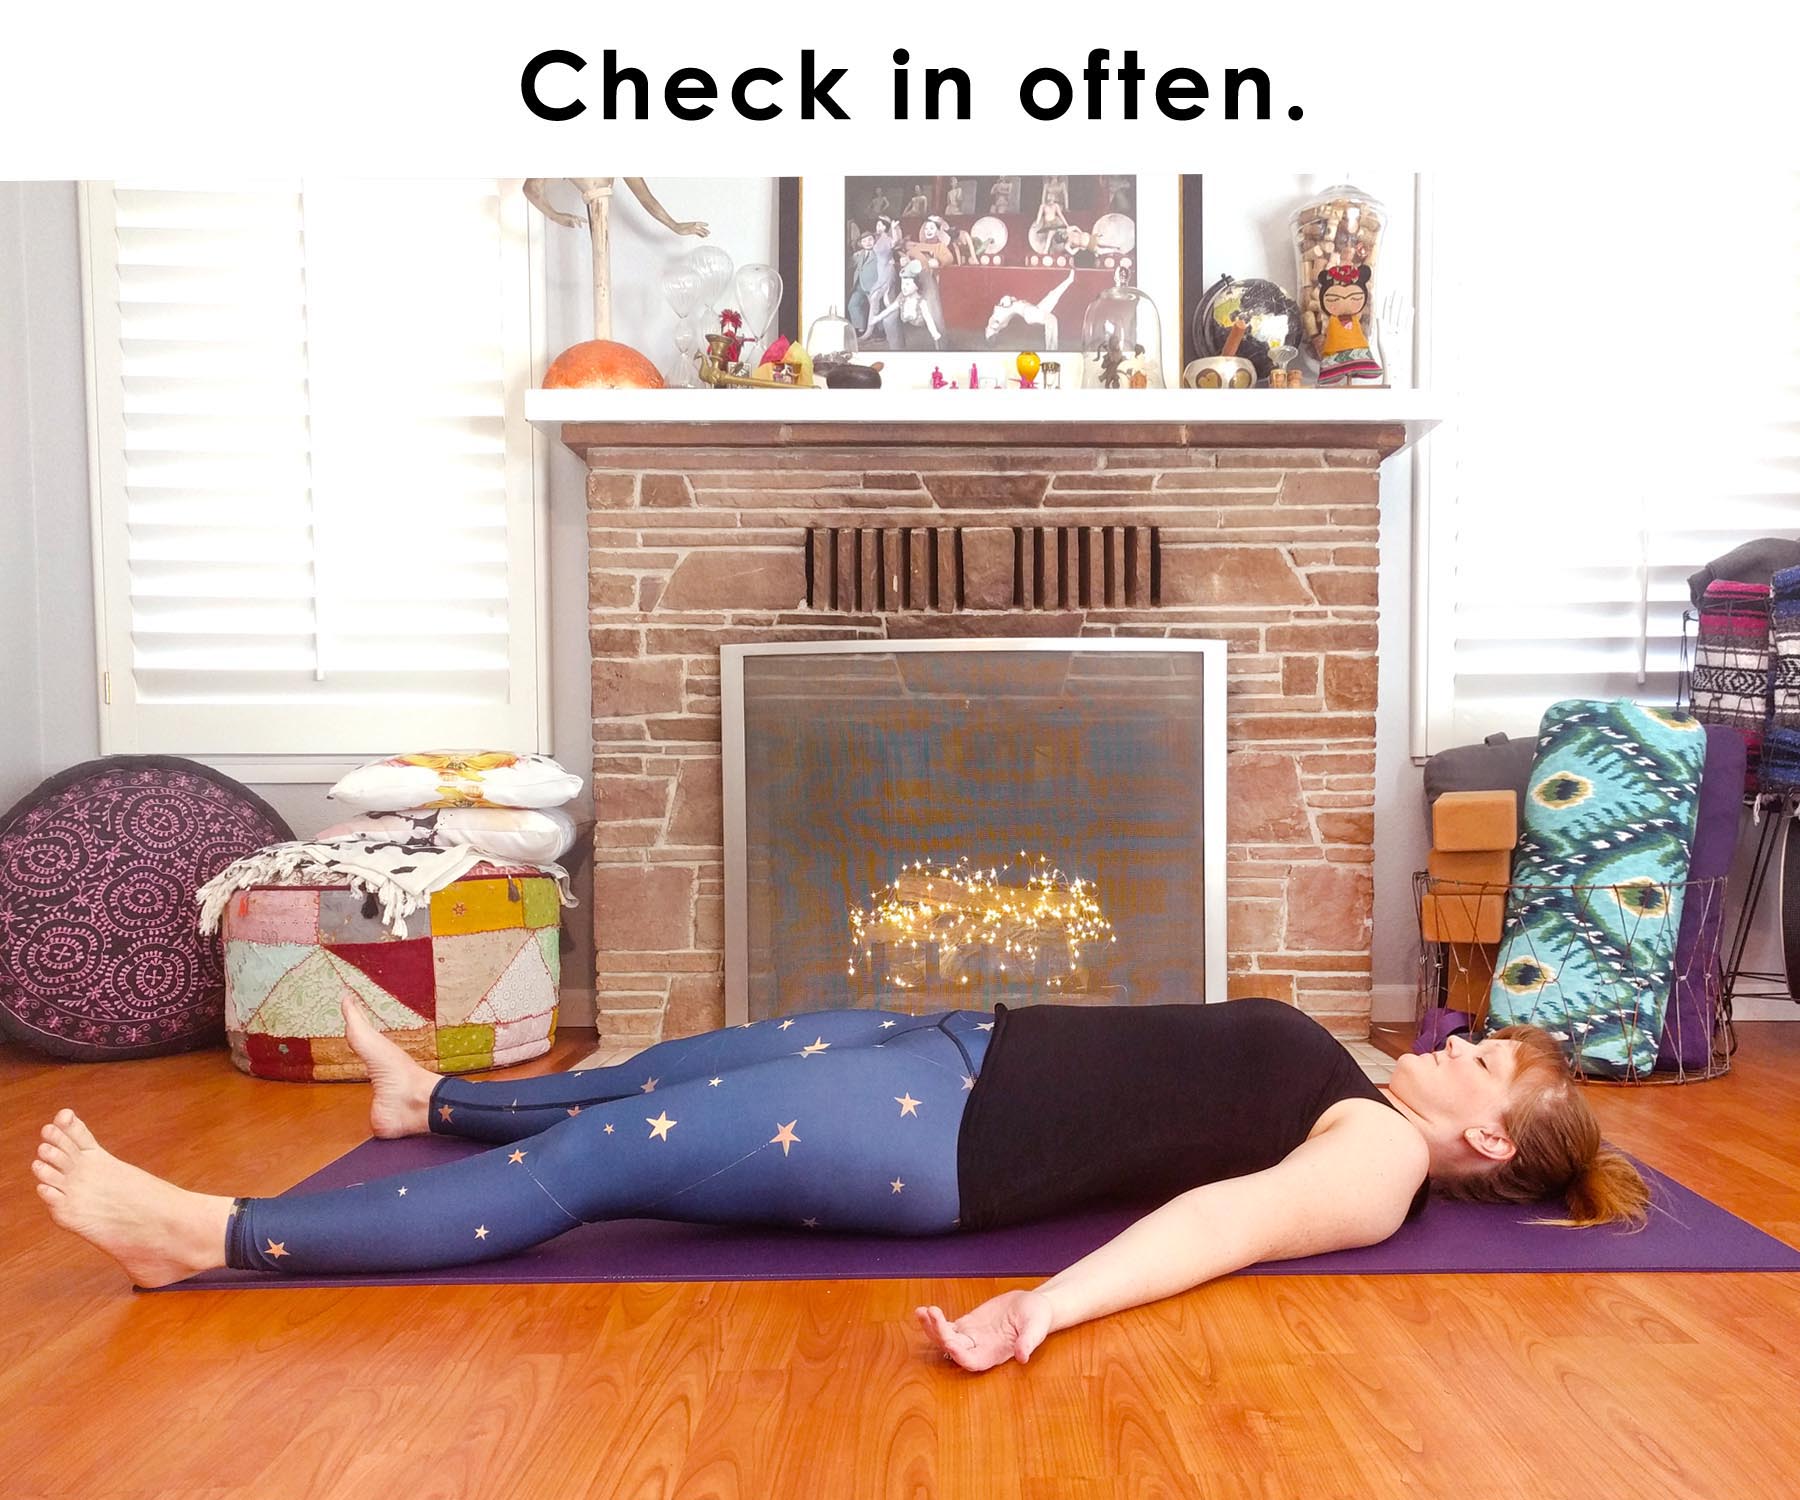
Okay, bridge pose might not be the cure all, but it’s my go to pose after sitting for a long period of time. Sitting in my office chair, driving a long distance, flying a long distance… you get the picture. Supported bridge places a little extra pressure on the sacrum and lets gravity do the work of giving the lumbar spine some of its space back. While normal bridge pose might not give pressure to the sacrum, it still does a pretty good job of releasing the lower spine and will work in a pinch.
In this video, I will show you how to go into bridge and supported bridge, and some movements that will feel good post bridge. Also, for the travelers out there, I’ll show you how to use a towel to make a stand-in for the block, so after that long flight you can bring a little bit of relief to that lower back with supported bridge.
Here’s a little synopsis if you’re in a place where you cannot listen to video of the 2 (and a half!) versions of bridge pose shown:
 |
Bridge Pose Lying down on your back, bend the knees and walk the feet in so they are hip’s width apart and positioned very close to the buttocks. Let the hands rest by your hips, palms flat on the ground. Take a deep inhale and with your exhale, let the body relax in this position. With the next inhale, begin to push through your heels and palms, lifting the hips toward the sky. As you exhale, push the knees out away from the torso, feeling a lengthening through the thighs. With your next inhale, bring the attention to the inner thighs, engaging them, feeling as if you are trying to bring them together, but not bringing the knees beyond placement over the ankle. From here, you can determine your hand placement. Options: a) keep the hands by the side, b) bend the arms at the elbows, letting the forearms and fingers come up toward the sky, palms toward the body, c) if the shoulders allow, take the hands under the body and interlace the fingers. Try staying in bridge for 5 to 8 breaths, or about 1 minute. As you begin to find comfort in the pose, you can increase this time to 2 or 3 minutes. When you are ready to come out of the pose, bring the hands back by the side, and slowly begin to lower the body, from top vertebrae to bottom vertebrae, until you reach the floor. Follow up with one of the recommended poses in the table below. |
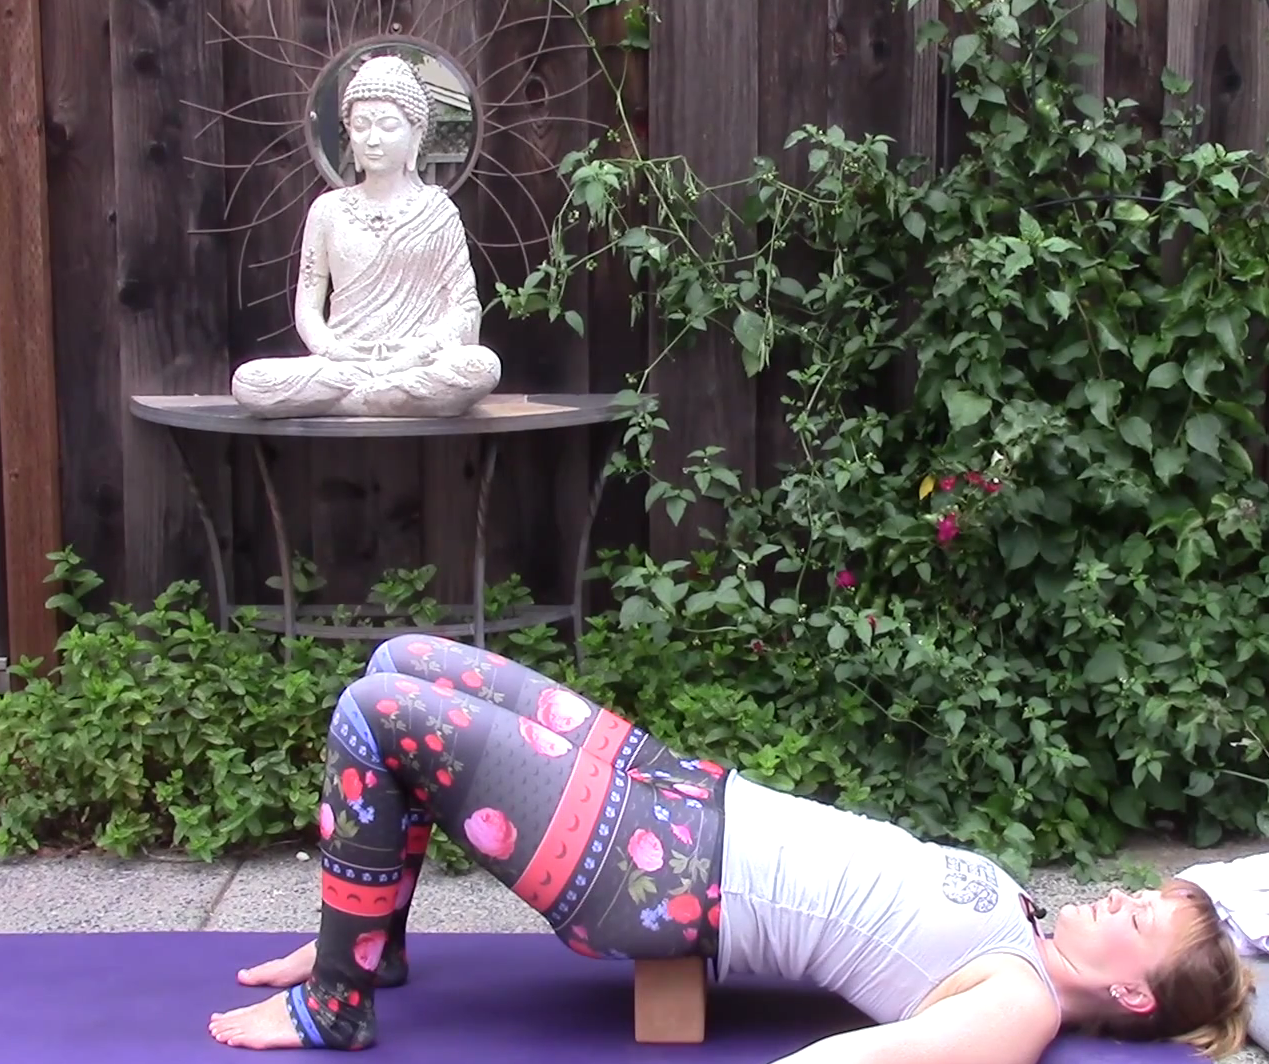  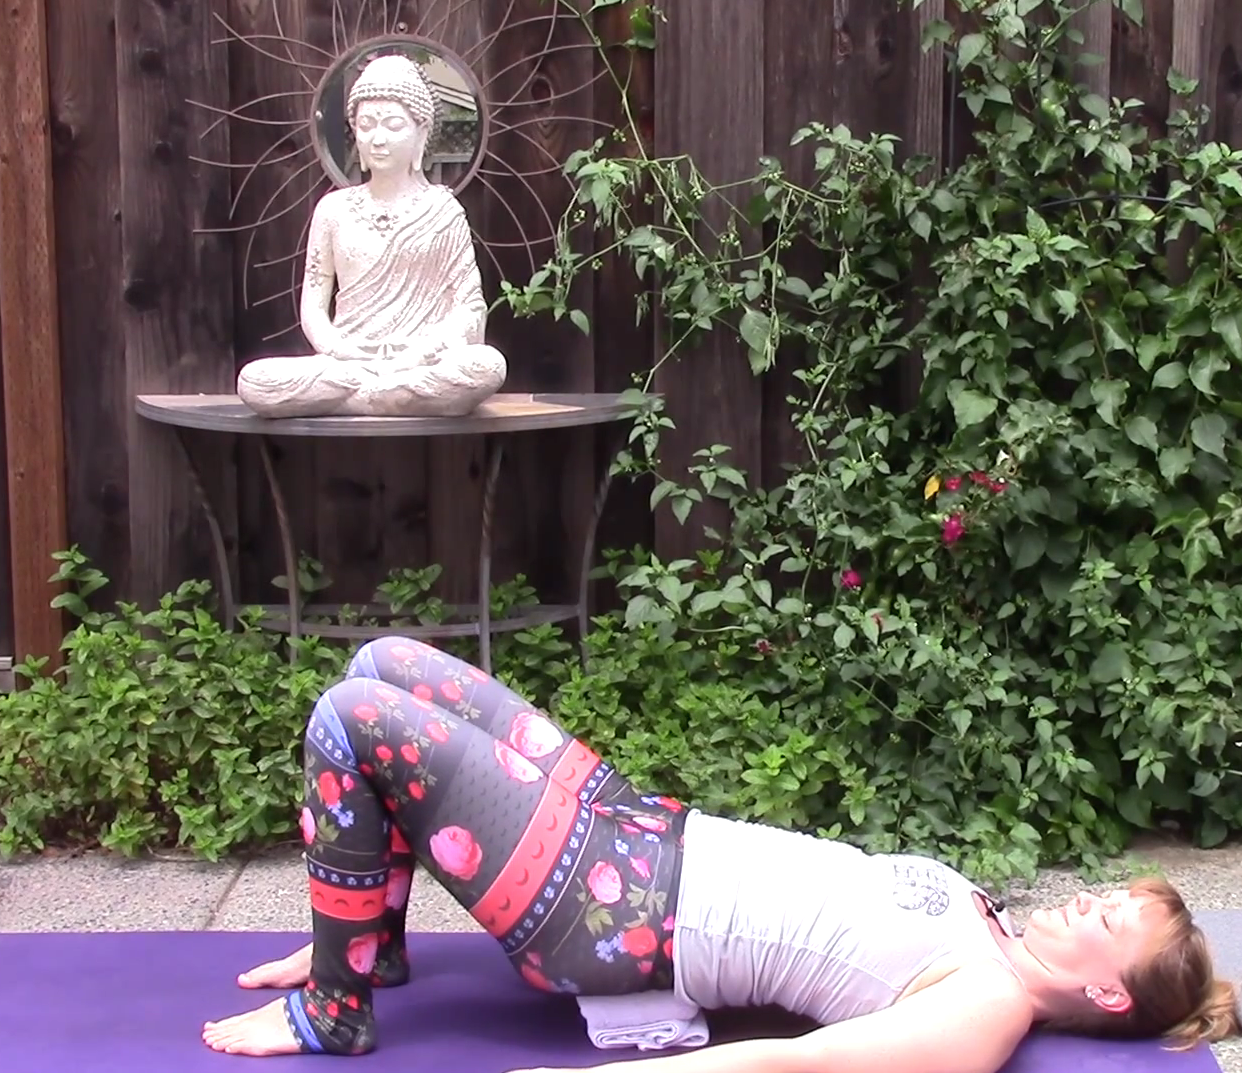 |
Supported Bridge Pose You will come into this pose in a similar way as bridge pose, but make sure you have your prop by your side.The prop is either a block or folded towel – details on folding the towel are at the 10 minute mark of the video. Lying down on your back, bend the knees and walk the feet in so they are hip’s width apart and positioned very close to the buttocks. Let the hands rest by your hips, palms flat on the ground. Take a deep inhale and with your exhale, let the body relax in this position. With the next inhale, begin to push through your heels and palms, lifting the hips toward the sky. As you settle into the posture, reach for the block or the folded towel and place it under the sacrum, adjusting if necessary to ensure it is not pushing into the low back or buttocks. Begin to let the body rest into the block, making sure the legs don’t fall out to the side, squeezing the sacrum. Let the hands rest by the body, either palms up or palms down. With each exhale, let the mind focus on releasing the muscles around the hip joints and in the lower back. Feel free to rest in this position as long as it feels comfortable, anywhere from 3 to 10 minutes. When you are ready to come out of the pose, push through the heels to lift the body up off the prop, and remove it to the side. Bring the hands back by the side, and slowly begin to lower the body, from top vertebrae to bottom vertebrae, until you reach the floor. Follow up with one of the recommended poses in the table below. |
Counterposes/follow up poses for bridge:
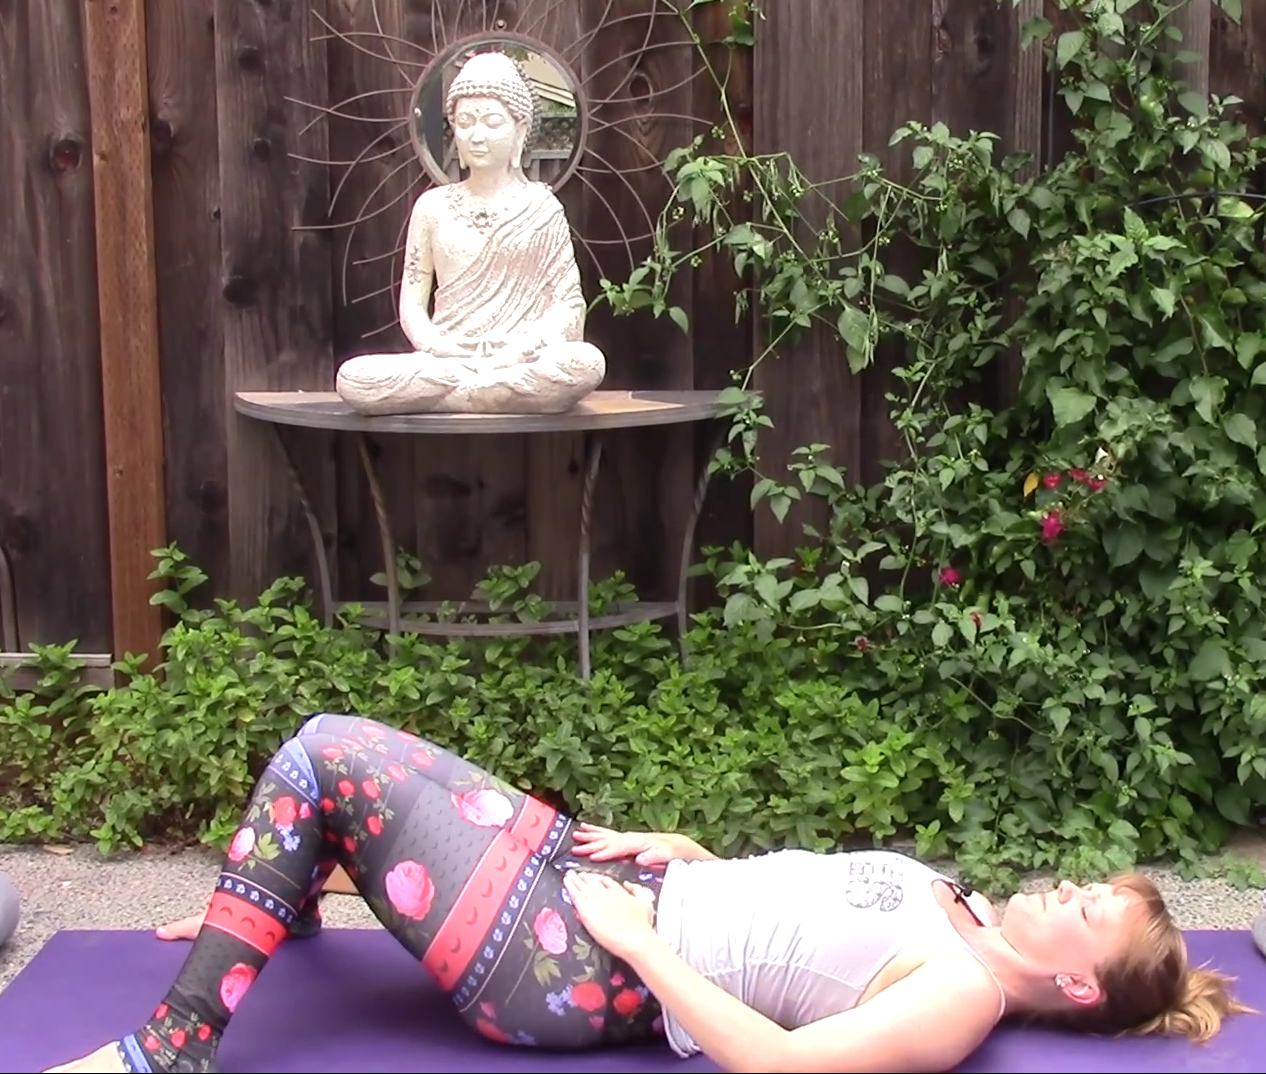 |
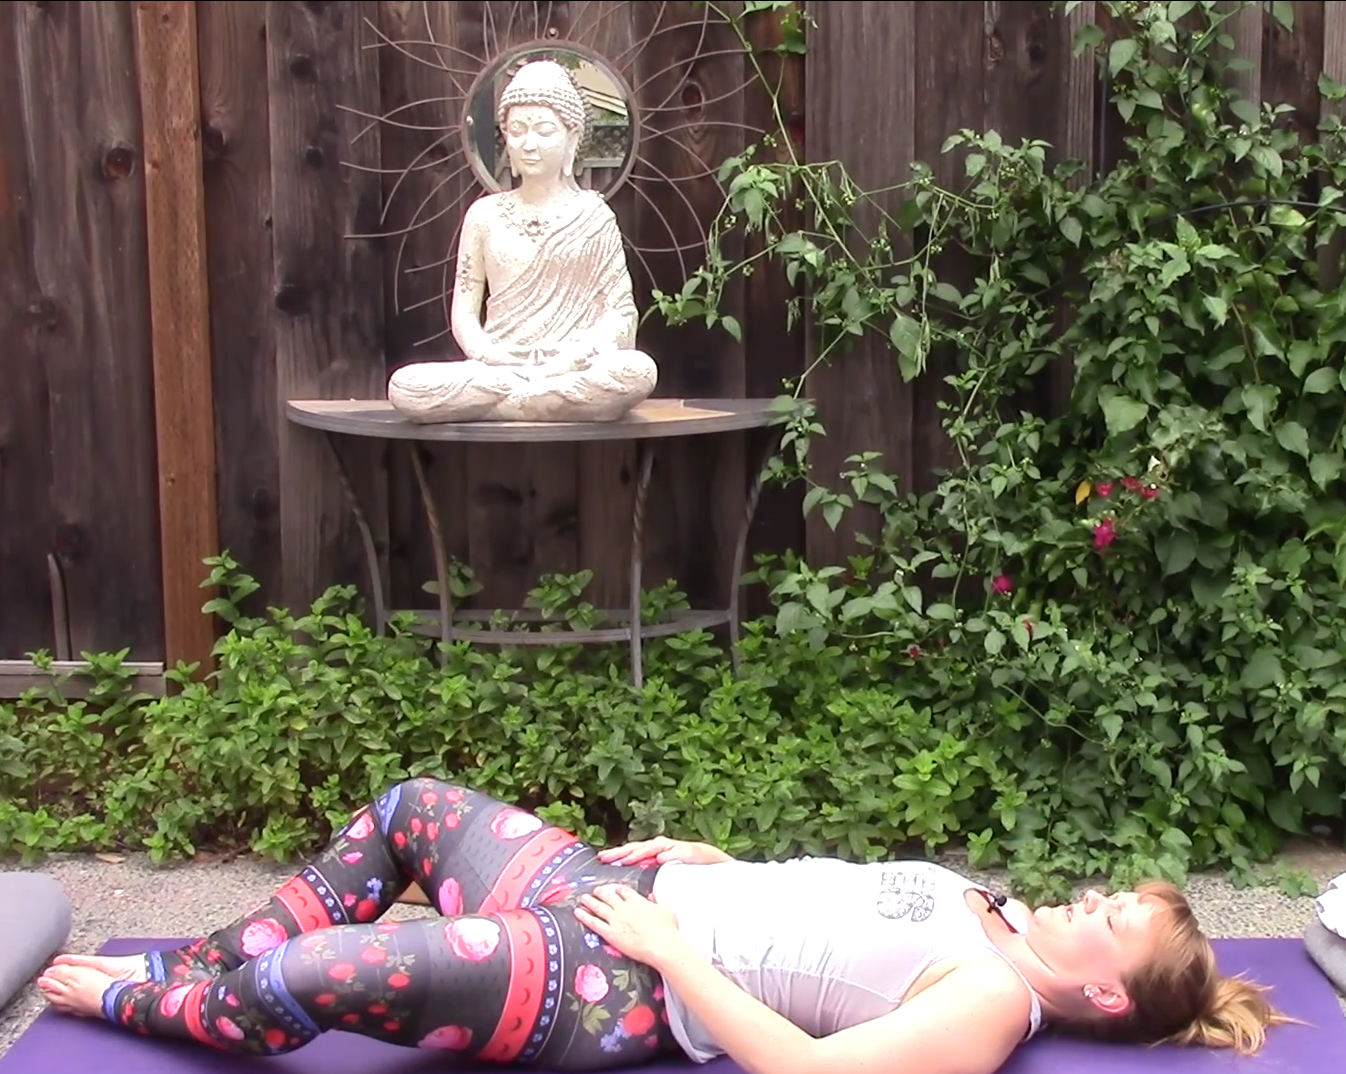
Creating Sacral Space After you’ve lowered the body to the ground, walk the feet toward the edge of the mat, keeping the knees bent. Let the knees fall toward each other, creating space around the sacrum and lower spine. Keep the hands by the side or rest them on the hips or stomach, and rest for 30 seconds to 1 minute. |
 |
Windshield wiper legs Similar to above, walk the feet to the edge of the mat, keeping the knees bent. Take the arms out to the side, and begin to let both knees drop, first to the right side, then to the left. Slowly move the knees back and forth for 30 seconds or so. |
 |
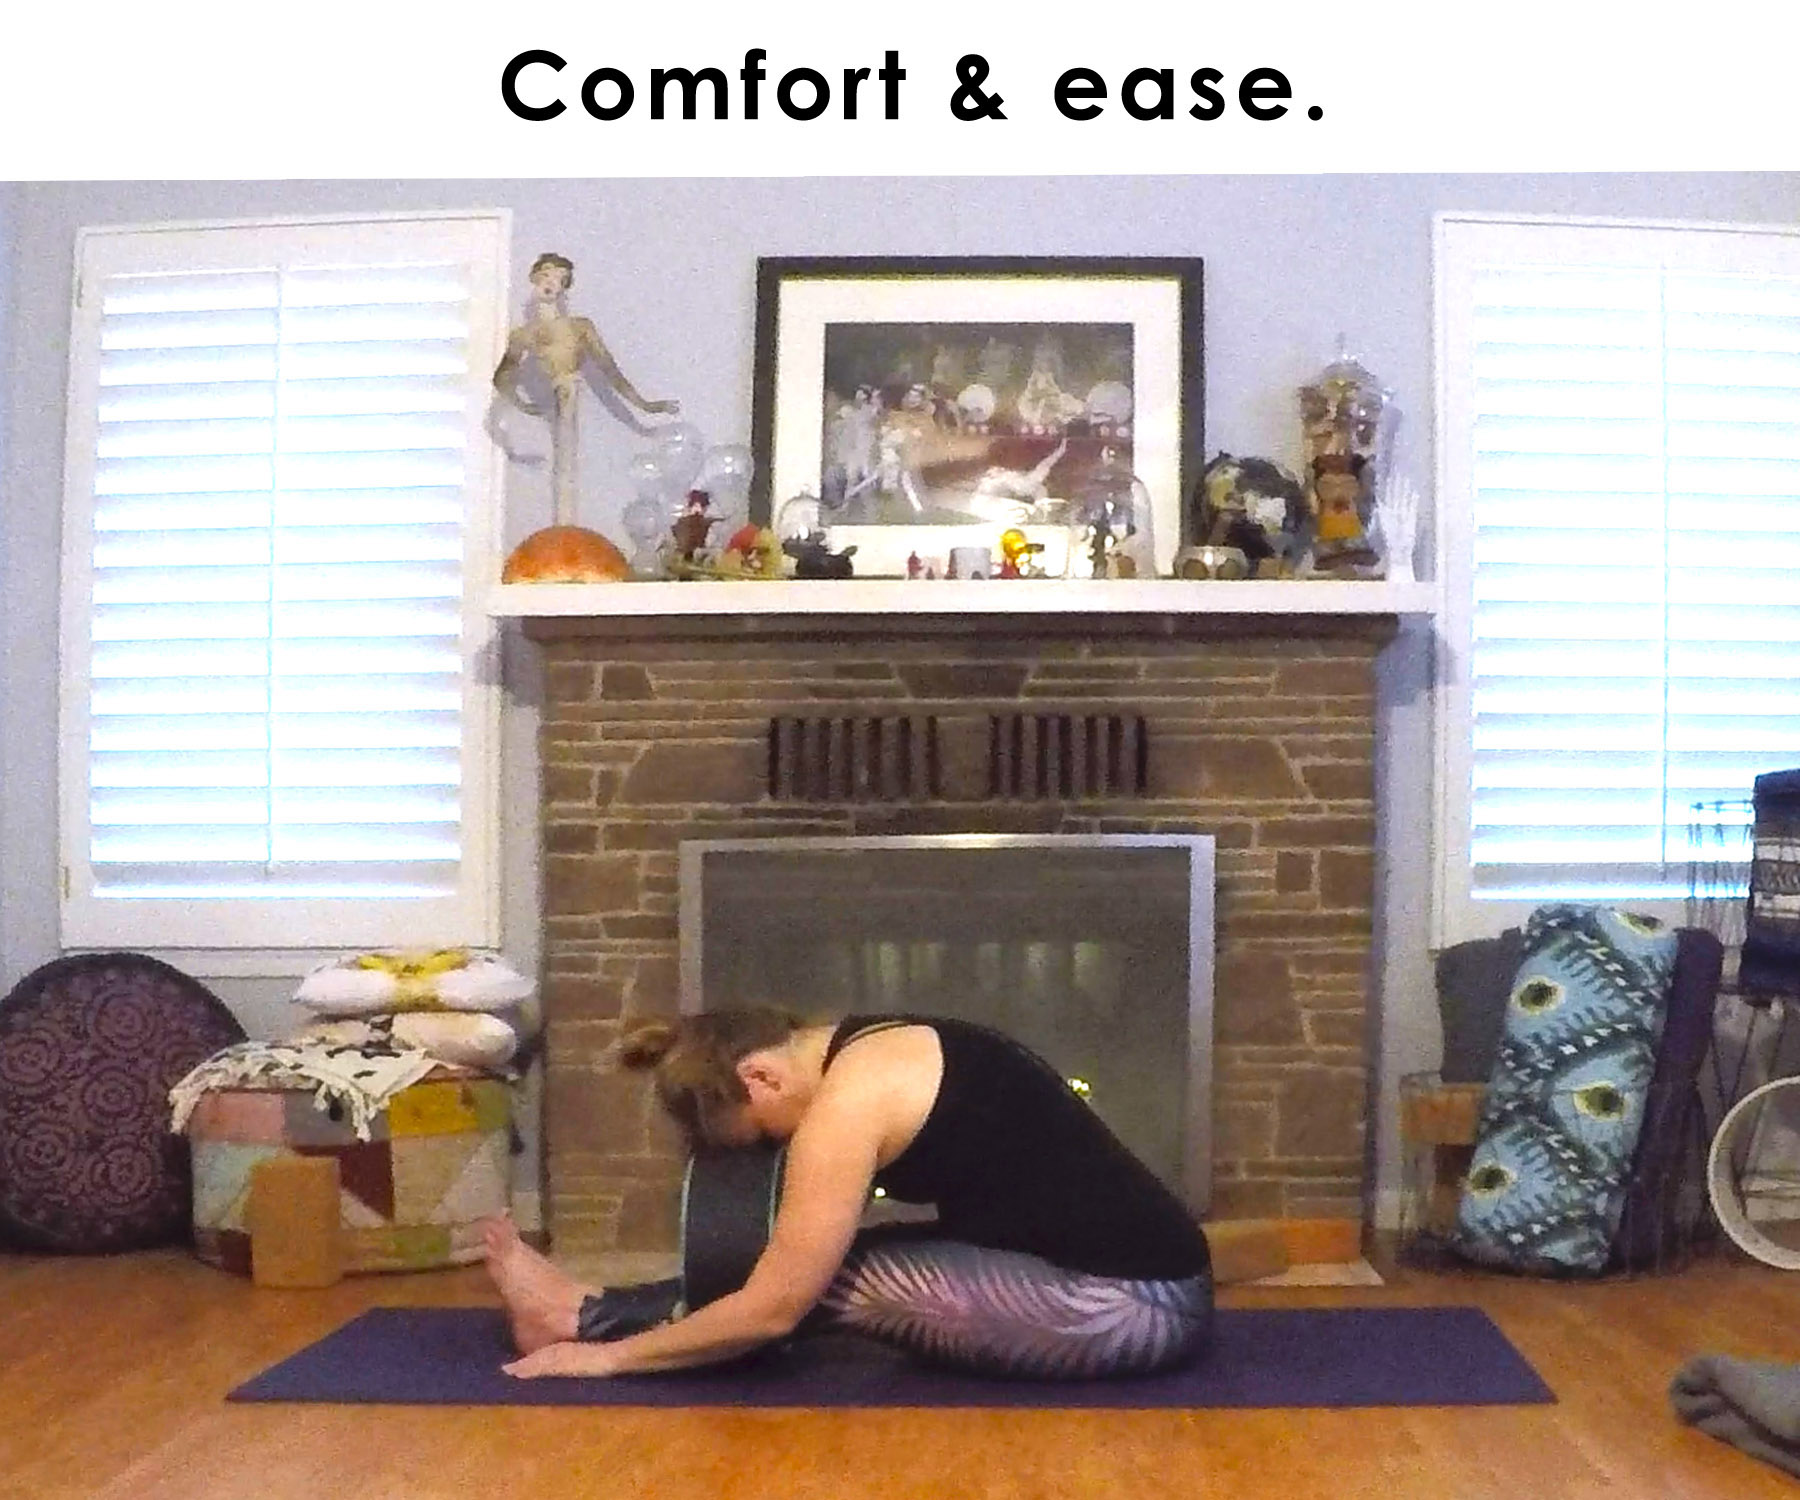
Reclining Baddha Konasana This pose is particularly beneficial if you feel the need to come out of the backbend a little slower, as it is a much milder version of a backbend in the lumbar spine. After you lower the body to the ground from bridge, take the knees wide, to the edges of the mat, and let the soles of the feet touch in the center of the mat. Take a few deep breaths here, then slowly bring the legs back together with the hands. |